Copying Negatives With a Skier Sunray Copy Box 3
Skier Sunray Copy Box 3 SET(135+120) Review
Analog Photography - Copying Negatives
I have given my analog photography a reboot lately. I shot film for about twenty years before digital took over. Digital photography started for me in 2004 but after a 15-year break film is resurfacing again.
There have been many moments over the years when the urge to shoot film returned but the timing just wasn’t right. Perhaps due to Covid, it felt like it was something I wanted to revisit again. But more so the reason was a box of negatives I found with photos taken by my late father in the fifties
Copying 65 year old negatives with the Skier Sunray Copybox 3
Why I Picked the Skier Sunray Copy Box?
There are so many options when it comes to copying your negatives or slides and I spent hours and hours researching before deciding on my setup.
The project of copying old negatives was kickstarted when one of my neighbors left a Wolverine F2D digital film converter on the “recycled items” bench in our apartment building.
The Wolverine F2D Titan provided a quick way to copy negatives but I knew I could get better results and realizing also that more equipment was needed in order to do so. You can check my Wolverine F2D review here:
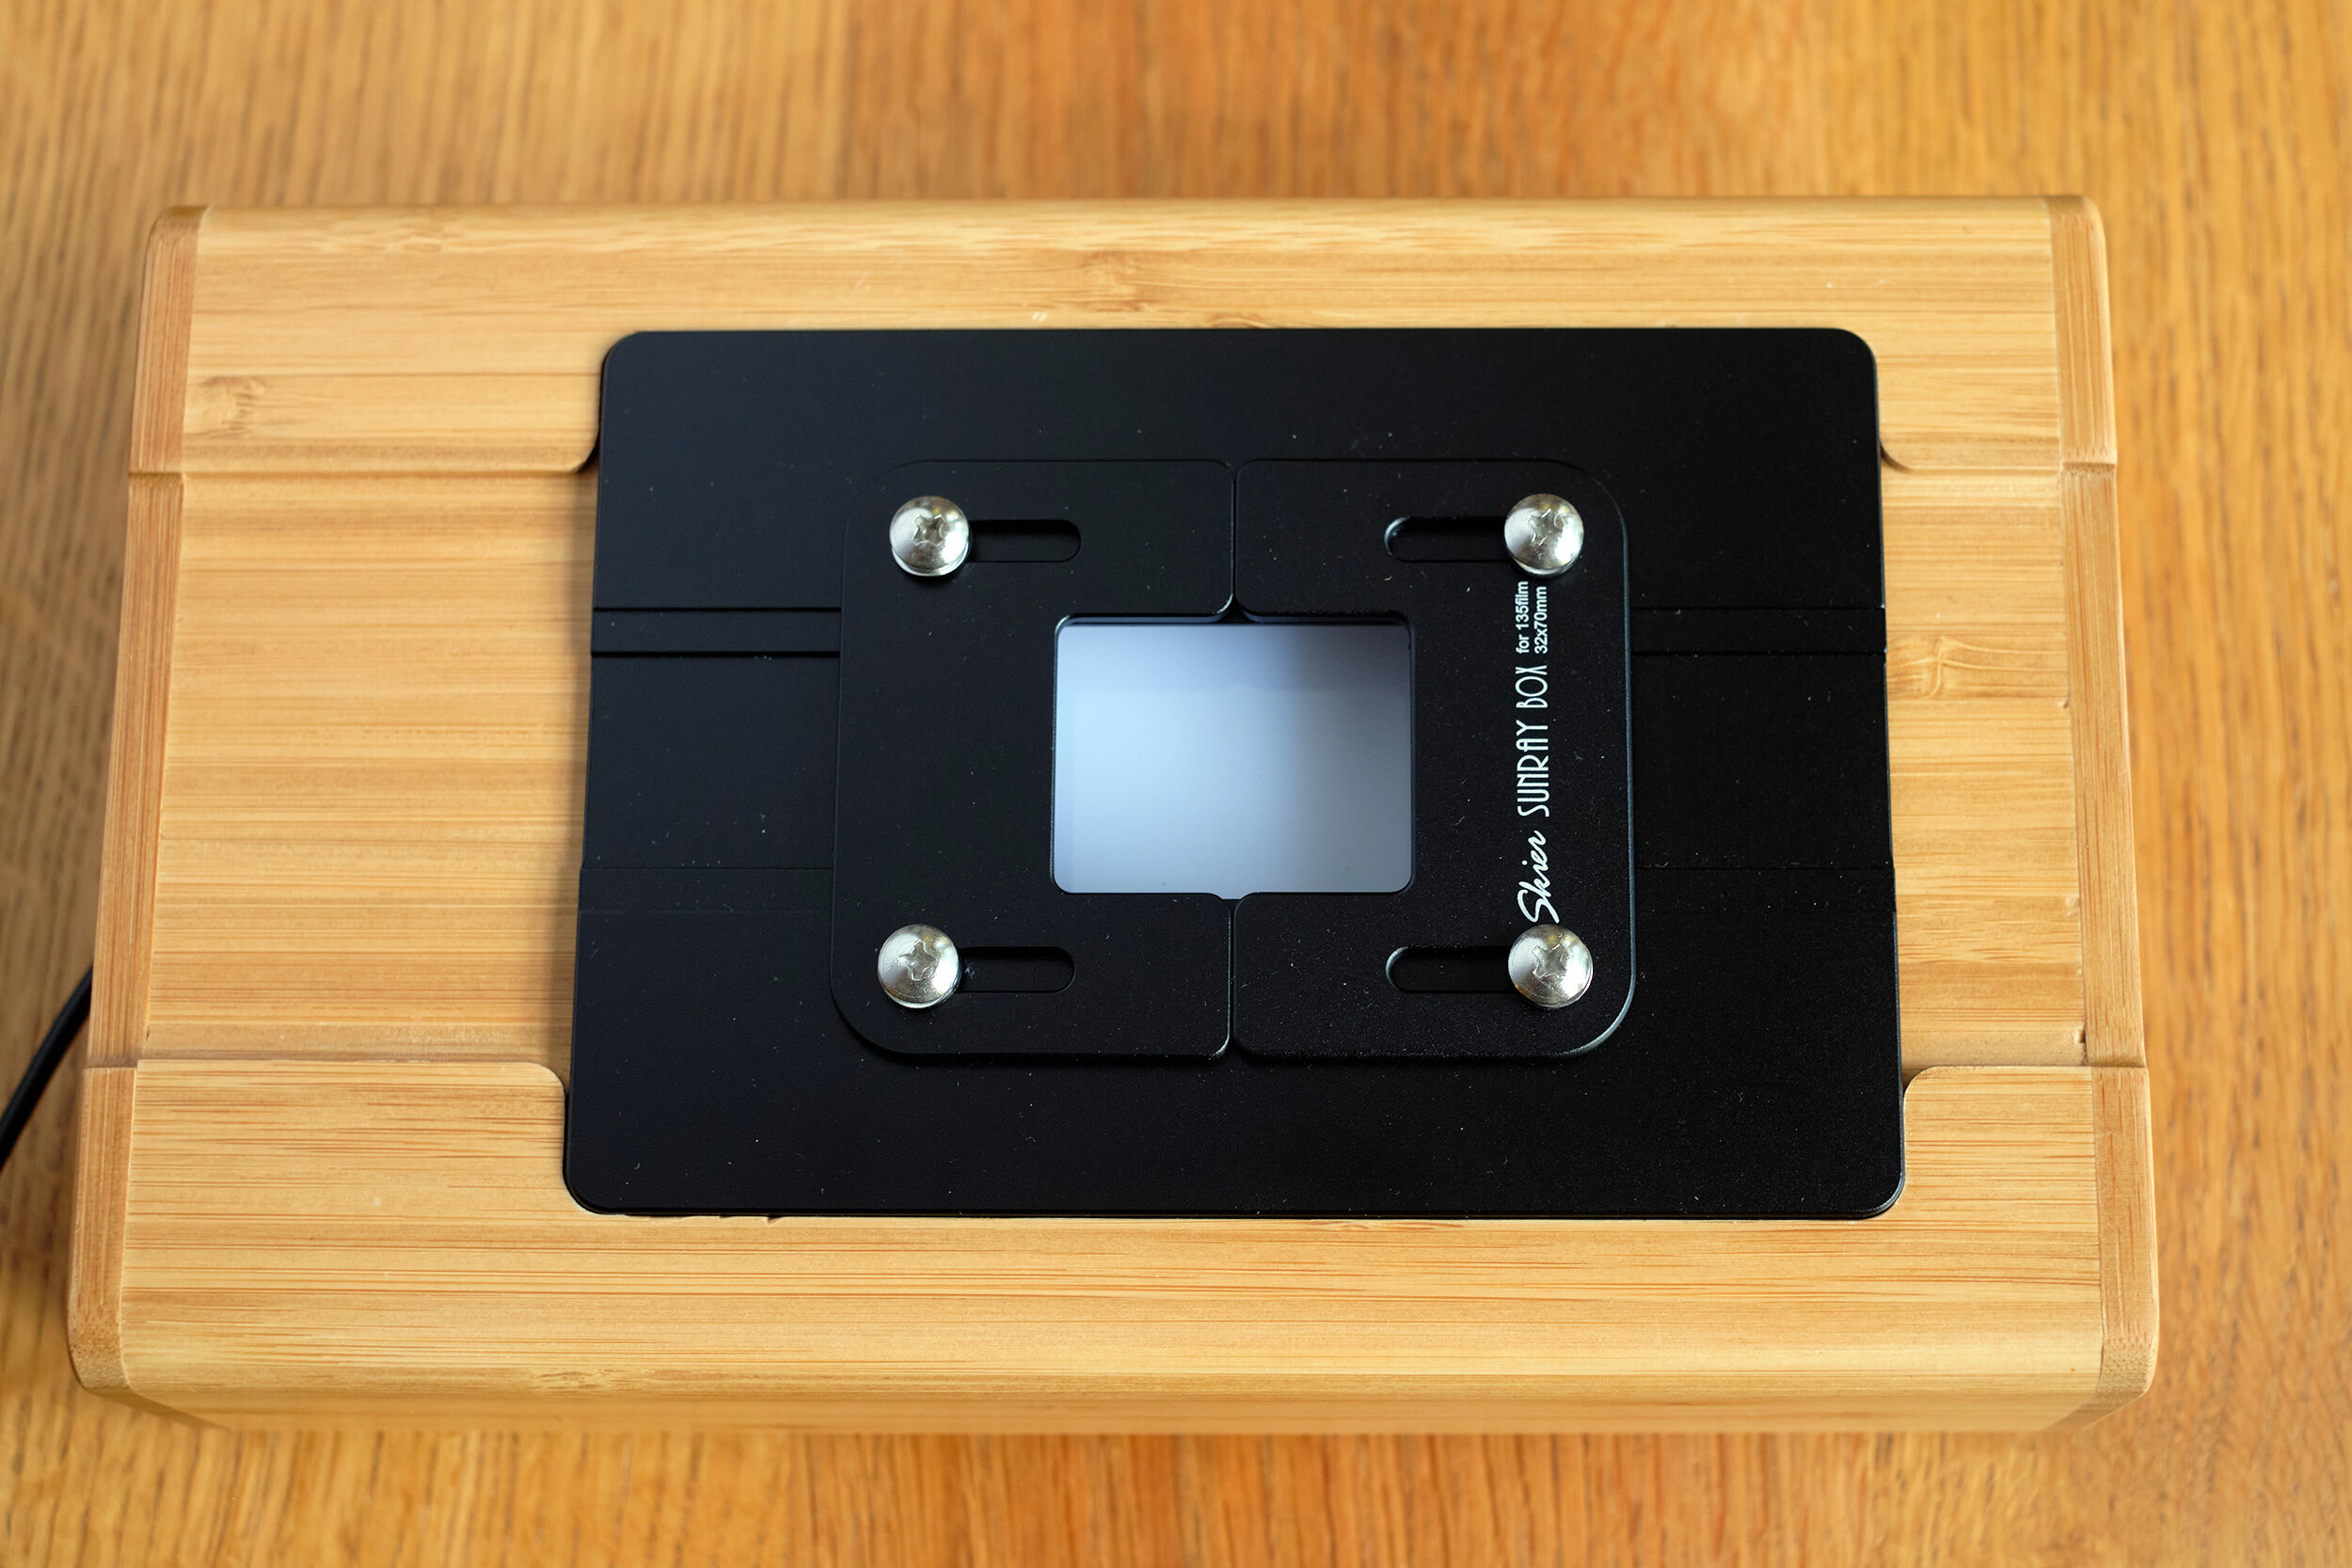
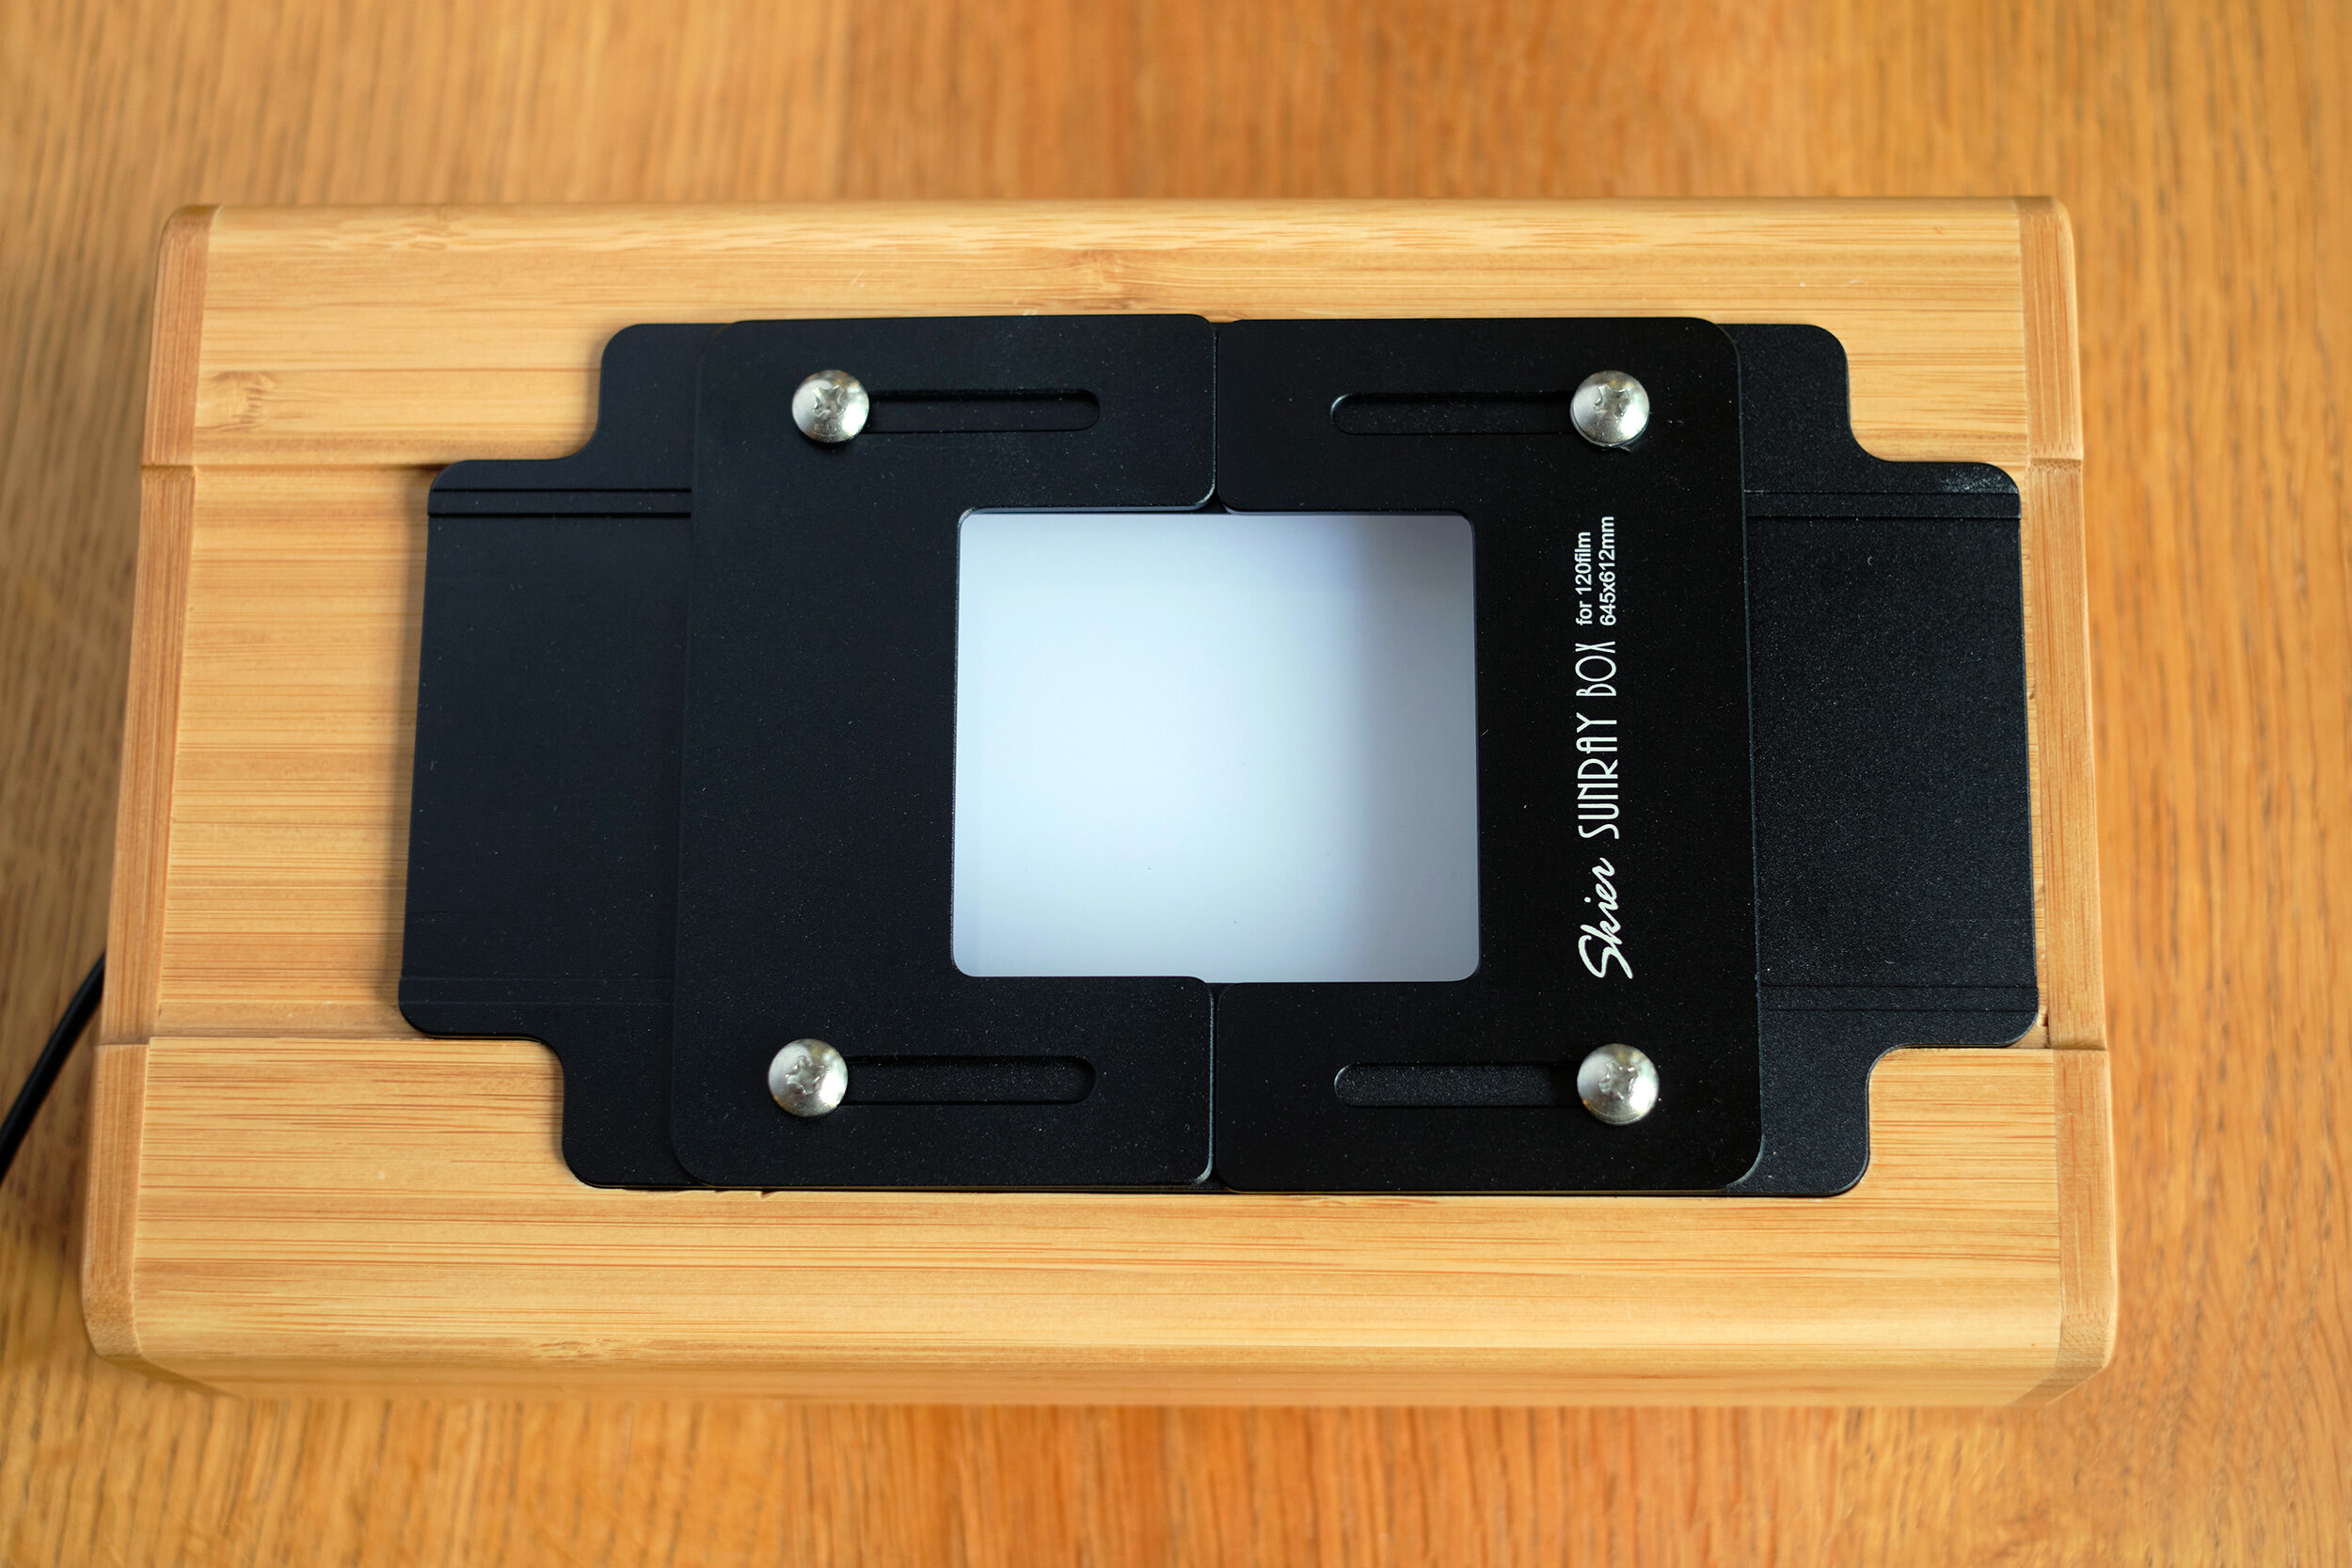
The Skier Sunray Copy Box 3 SET(135+120) allows you to copy 35mm film or as seen here, or 120 film, 6x6 cm.
Scanning Versus Copying Negatives
I researched several flatbed scanners and film scanners and while you can get very good results from both the workflow did not appeal to me.
I kept reading about long scanning times, software that was prone to crashing, and good scanners that are not inexpensive. I have a stand-up workstation in my kitchen and finding a spot for a flatbed scanner was also a bit of an issue.
Please do not read this as a bashing of flatbed and film scanners. I know they work just fine for many photographers and they often come with software that can eliminate dust and scratches which is no small task.
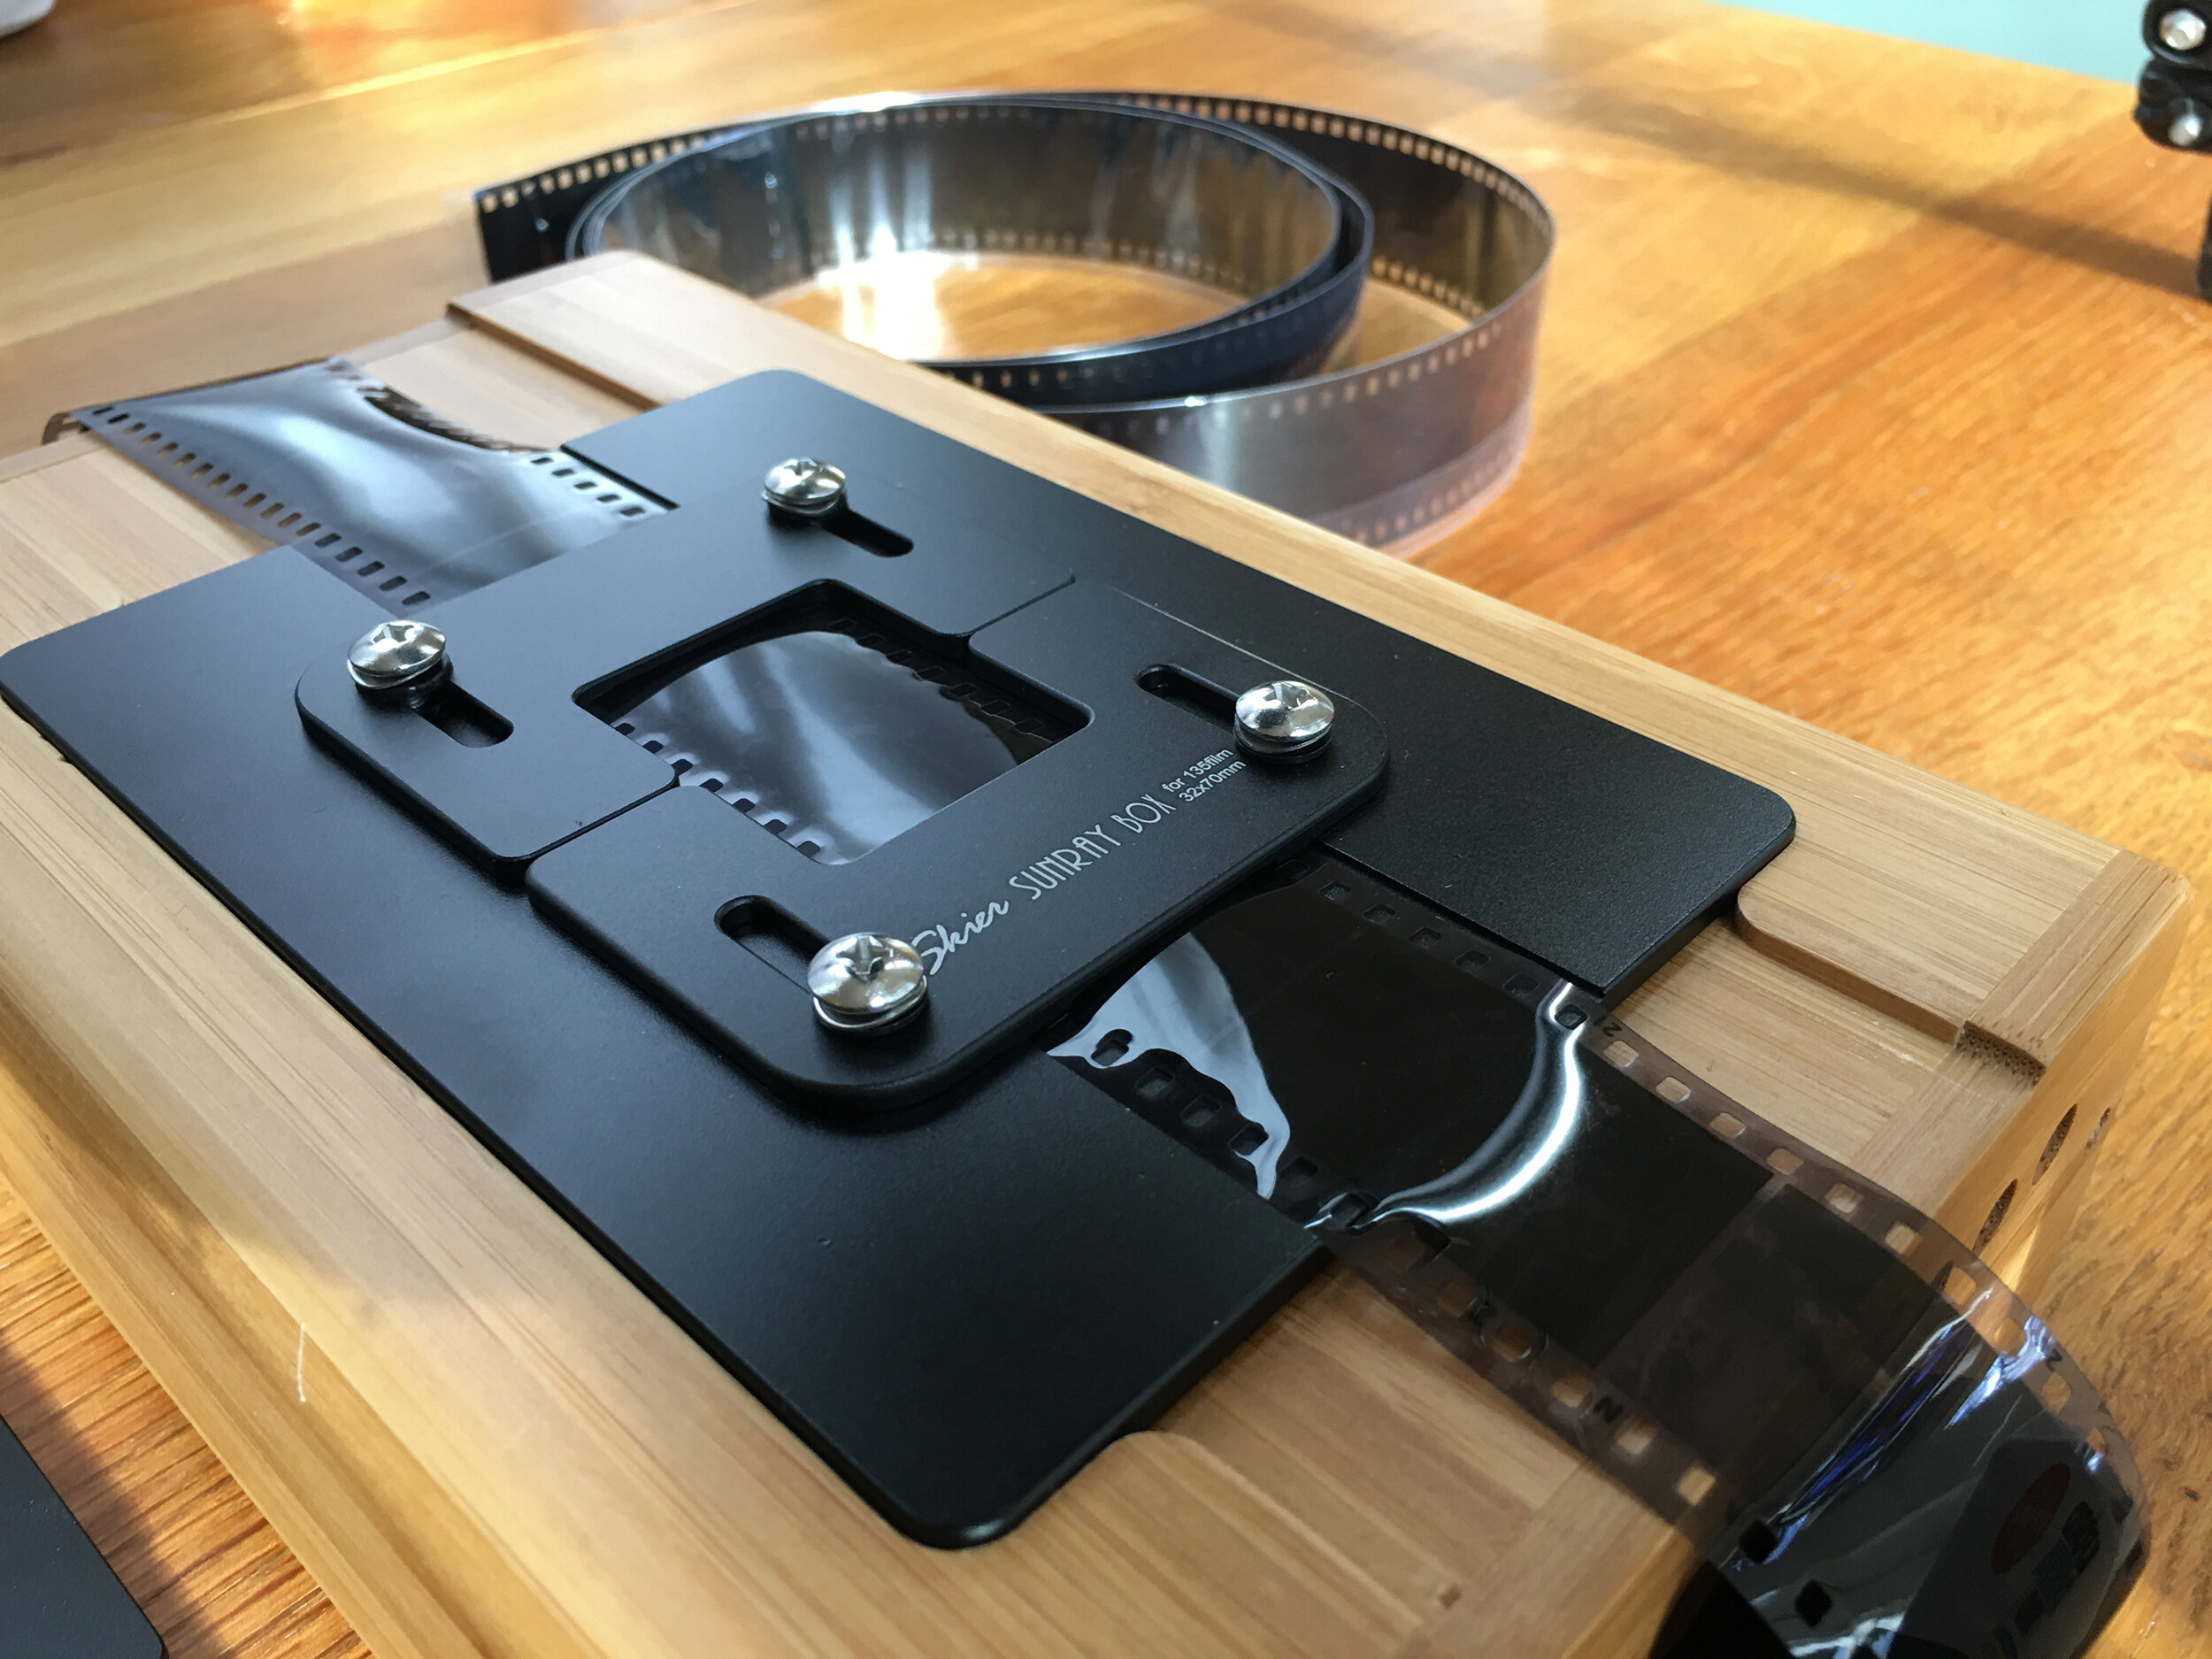
The Skier Sunray Copy Box 3 SET(135+120) includes microfibre anti-static gloves, a dust blower bulb, and holders for 35mm and 120 film. Unfortunately, the cameras are not included and the Hasselblad is not mine :)
Easy to Set Up, Flexible Option, High-Quality Output
In 2013 I spent a few days copying hundreds of my favorite slides taken over the years and did this with a Canon digital SLR and 100mm macro lens and a strobe as my light source. I liked the hands-on tactile workflow of simply photographing the slides and I was pleased with the results.
My research for a similar but more compact setup led me to the Skier Sunray Copybox 3 SET (135+120). Kidd from Skier Pro System kindly agreed to provide me with the Copy Box 3 set and I agreed to write this review. He shipped it promptly from Taiwan and it arrived here in Canada after a few short days.
A 35mm negative from 1958 copied with the Skier Sunray Copybox and processed with Negative Lab Pro in Lightroom. Ilford Isopan F.
Macro Lens for Copying Negatives or Slides
I did not have a macro lens and this was the single most expensive item needed for this setup. I decided on a 1:1 macro lens as I wanted to be able to capture the entire negative surface utilizing as much of my sensor area as possible.
Some macro lenses only magnify 1:2 and you will need an extension tube in order to magnify 1:1. I found an AF Micro-Nikkor 60mm f/2.8D on Craigslist and paid $210.00.
I also needed an adapter for my Fujifilm X-Pro2. I settled for a K&F Concept Nikon to FX adapter, $30.00, as it was readily available on Amazon and seemed to get decent reviews. So far this combination works fine.
120 film negative copied with the Skier Sunray Copybox and processed with the Negative Lab Pro plugin in Lightroom. English Bay, Vancouver, Zeiss Ikon Ikoflex, Kodak Ektar 100.
Copying Negatives - Workflow
Other than the macro lens and adapter mentioned above I was almost set. I also picked up a JJC Mechanical Shutter Release Cable for around $10.00 in order to avoid camera shake when capturing the images. Alternatively, you could use a self-timer on your camera.
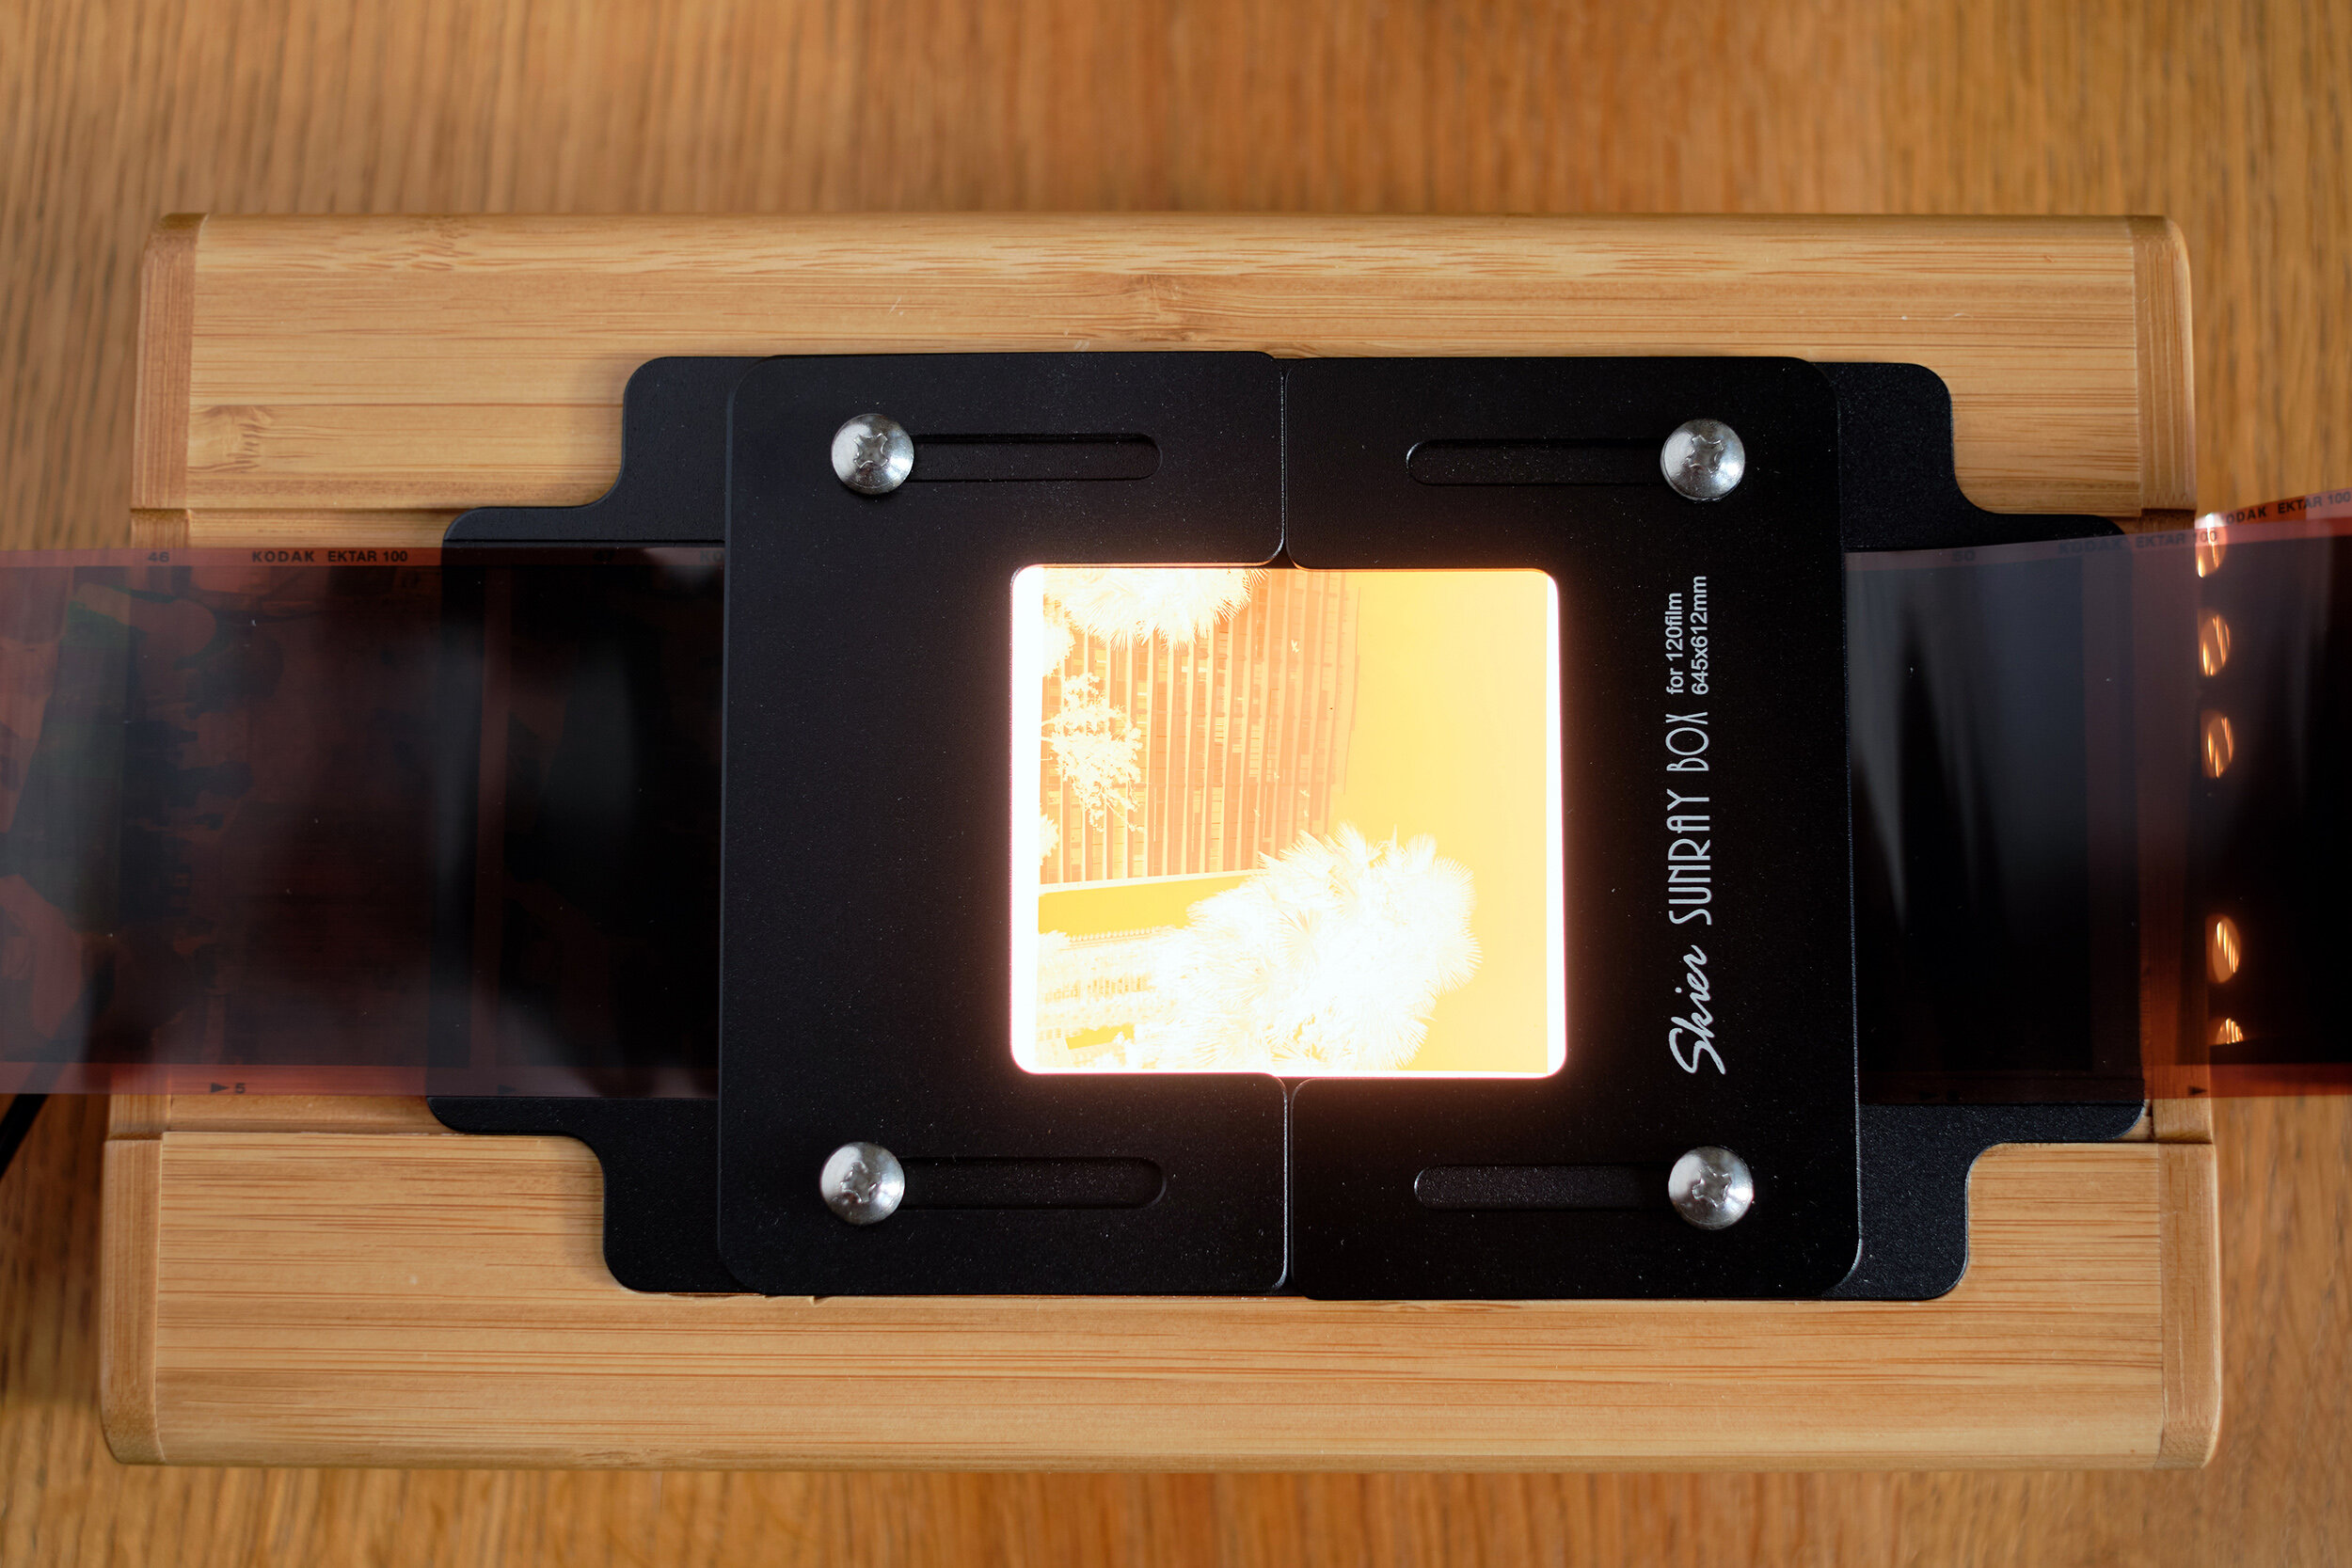
The Skier Sunray Copy Box 3 SET(135+120) comes with holders for 35mm and 120 film and both film holders can be adjusted to a wider format, 40 x 70mm or 60 x 120mm. Flip the 35mm film holder and you can fit your 35mm slides as well.
Simply slide your film through the film holders and start copying with a mirrorless or digital SLR with a macro lens.
You can use a copy stand or a tripod to support your camera for steady shots. I am using an aging Manfrotto tripod and flipped the center column upside down with the camera mounted beneath the legs (see top photo). I use an iPhone app to make sure my camera is completely level.
It takes a bit of practice to work your camera from this angle and to line the negatives up so they are completely straight. But once the setup is complete, you can copy a roll of film in a few minutes.
35mm color negative film copied with the Skier Sunray Copybox and processed with Negative Lab Pro in Lightroom. Bovbjerg, Denmark. Slightly cropped.
Exposure Settings
The Skier Copy Box gives you a full spectrum, daylight strength 5600-kelvin light source. I have mostly been exposing at f/8 with shutter speeds around 1/125s but it will vary depending on the type of negative you copy. Negative Lab Pro suggests overexposing negatives a full stop.
Make sure to shoot RAW as you will gain good control over the files later on in Lightroom. I have an article here on how to convert negatives using Negative Lab Pro.
The Nikkor 60mm f/2.8D gives a good working distance to your negatives.
Skier Sunray Copy Box - Conclusion
There are literally a thousand ways to make a similar setup and I have seen photographers build film holders out of Lego and camera mounts out of PVC pipes. Let your imagination run wild.
The Skier Sunray Copy Box is an elegantly designed all-in-one solution including a powerful light source, built from bamboo and with metal film holders.
Eighteen holes on the bottom and eight on each side of the box provide ventilation for the bulb. The power cord is over 3 meters long so you do not have to worry about an extension cord.
One of the important factors for me is how easy this is to set up and take down. I am ready to copy negatives in about 5 minutes and it is even quicker to clean up afterward, which means it is never a daunting task to copy even just one roll of film. All in all, I have been very happy with the Skier Sunray Copy Box.
I shot five rolls of 120 film over this past weekend with a Hasselblad 503cx I was testing. Looking forward to taking a closer look at the negatives. Stay tuned for upcoming posts.
Update:
I have now reviewed the Hasselblad 503CX and you can check the review via this link.
Hasselblad 503CX - Film Camera Review
My reviews at a glance: Camera Reviews - Archives
