Hasselblad 503CX Portrait Sessions

Trying a Hasselblad 503CX For Portraits
Hasselblad Review Weekend
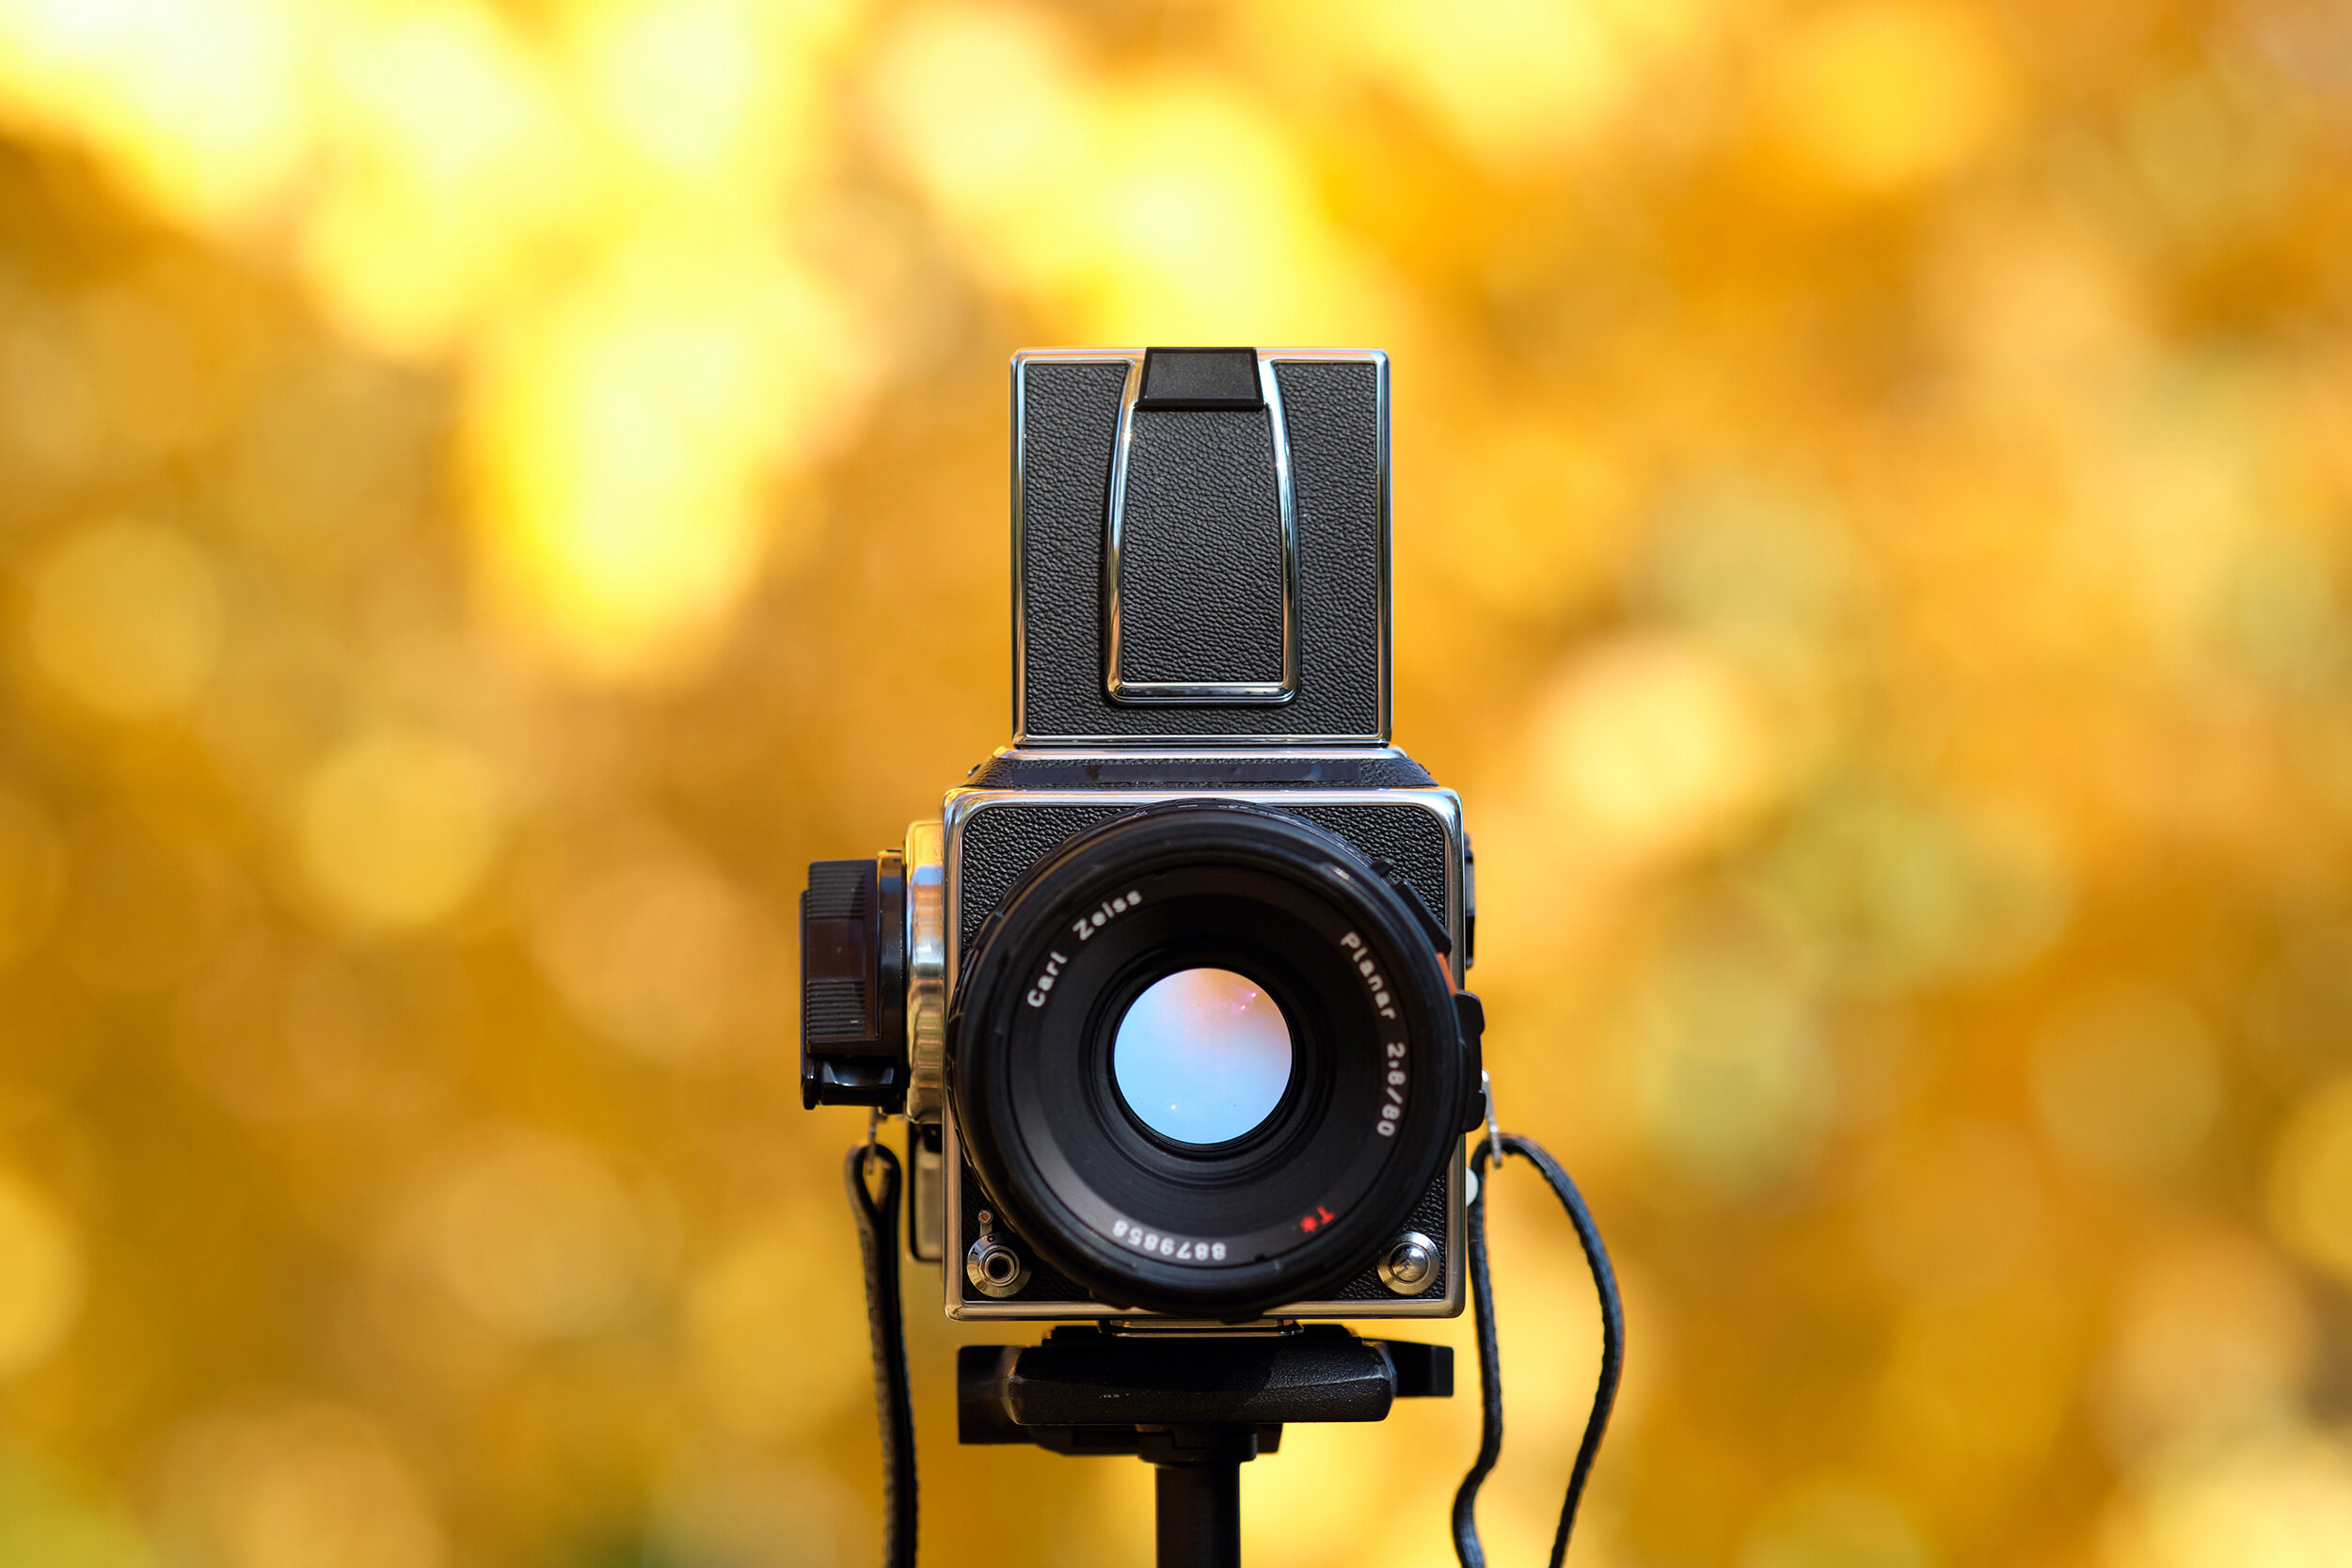
A few weeks ago I rented a Hasselblad 503CX for a weekend. Before the rental, I almost bought a Mamiya 645 1000s. The seller fell off the face of the earth so perhaps it wasn’t meant to be. It was probably for the best as I wanted to try out the Hasselblad before committing to a 645 camera. The negative size for the Mamiya 645 is 6 x 4.5 cm vs. 6 x 6 cm for the Hasselblad.
I already have a medium format TLR camera, a 6 x 6 Zeiss Ikon Ikoflex, but I wanted to see what the iconic Hasselblad was all about. This post will be about two quick and informal portrait sessions I did over the review weekend. If you want to read my review of the 503CX first, here is a link: Hasselblad 503CX - Film Camera Review.
Portraits in this article were captured with a Hasselblad 503CX and Zeiss Planar 80mm f/2.8 CLE lens
Session 1 - Jonathan - @jonsweetjon
Jonathan is the son of one of our friends and among his many talents, he also happens to model. You can follow him on Instagram, @jonsweetjon. Jonathan was over for a coffee and I told him about the Hasselblad test I was doing and we agreed to head out and shoot a roll of film together.
When I say a roll of film, I meant just one roll. The cost of film and development is one of the issues to consider when shooting film but we actually thought it would be a fun challenge to see what we do with with just 12 frames.
Jonathan told me when he models he would usually go through around 1500 photos after a photoshoot. I would usually shoot less during a portrait session. Perhaps around 2-300 frames depending on the model and what we are trying relay. Perhaps needless to say but we are talking about digital photography when tallying these numbers.
Jonathan is striking a pose while I have the Hasselblad 503CX mounted on a tripod with a low vantage point.
Shooting Details - Hasselblad Portrait Shoot
I had an expired roll of Kodak Tri-X lying around and decided to use this for the shoot. I also decided to shoot using a tripod which I usually would never do for portraits. I realize the final outcome may be better but I find the tripod very restricting as to what angle I shoot from and it makes quick changes nearly impossible.
I still decided it would be a good way to challenge myself, to do things in a new, and different way. I also used a mechanical shutter release cable and we brought a white reflector. We used only natural light and no flash or strobes.
Jonathan @jonsweetjon
Shooting Portraits With the Hasselblad 503CX
We headed for Stanley Park for our 12 frame photoshoot and picked a rather dark area for the first few frames. Slowing down and taking time with each shot was wonderful and Jonathan was very patient with me.
The Hasselblad is fully manual meaning there is no light meter and you focus manually. I brought my Sekonic L-358 light meter in order to get accurate exposures and shooting at 400 ISO I was flirting with shutter speeds slower than what I would usually accept. We were shooting as low as 1/30s but gave it a shot as I was using the tripod and figured, why not.
Jonathan @jonsweetjon
Post Processing
I take my negatives to The Lab in Vancouver. They have same-day service or if you hand in your film after 2 PM, you can pick it up the following day. I copy the negatives using my X-Pro2 and an AF Micro Nikkor 60mm f/2.8D lens, and the Skier Sunray Copybox 3.
RAW files are imported to Lightroom and I use the Negative Lab Pro plugin to convert the files. For the shoot with Jonathan, I wanted a slightly warmer look and simply picked a Kodak preset for color temperature. I realize it looks almost like sepia but found that it represented the feel of the day quite well. Having the RAW files also gives good flexibility for exposure and level adjustments.
Session 2 - Mik - @mcbizco
The second session was very relaxed and more or less turned into a family walk where we did get a few portraits along the way as well as a few candid family photos. Mik is an actor and also happens to be my son. You can check his IMDB page here. I rarely need to twist his arm when I want to test gear for headshots.
I left the tripod and mechanical shutter release cable behind for this shoot but brought my Zeiss Ikon Ikoflex in order to compare with the Hasselblad. I had half a roll of Kodak Portra 160 and a fresh roll of Ilford Delta 100 on hand.
Mik @mcbizco
Shooting the Hasselblad Handheld
I prefer to shoot portraits handholding the camera but it is a demanding task with the Hasselblad. With the waist-level viewfinder, you have the mirroring issue to deal with. And I will admit I had trouble with manual focusing, or at least to get to a point where I trusted that I had obtained accurate focusing.
The end results were okay for most of the photos but it was nerve-wracking at the time of capturing the images. I am sure this will get better if you were to use a Hasselblad for a longer period of time as you would get to know the camera better and learn to trust your adjustments.
Hasselblad 503CX vs. Zeiss Ikon Ikoflex
As mentioned above I brought my Zeiss Ikon Ikoflex loaded with Ilford HP5. For a more in-depth comparison check my Hasselblad 503CX review here.
I like photos from both cameras but was surprised to see how well the Zeiss Ikon Ikoflex held up against the much newer Hasselblad. Ideally, I would have shot the exact same scene but it was a go with the flow kind of day so bear with me. Here are two photos captured with Zeiss Ikon Ikoflex.
Final Thoughts
Shooting film takes more time and effort. First, you have to buy the film. After the shoot, you have to run it to the lab or develop it at home. Then another trip back to the lab to pick up the film. Then if you want to convert to a digital format you either have to copy or scan the negatives. This makes digital photography sound like a breeze in comparison.
Is it worth the effort? In the case of shooting medium format with a camera such as the Hasselblad for sure, it is. Would I do it all time? No. But from time to time I do find it refreshing to shake things up and there is something to be said about the analog hands-on process and final outcome. It feels and looks more organic.
My reviews at a glance: Camera Reviews - Archives


