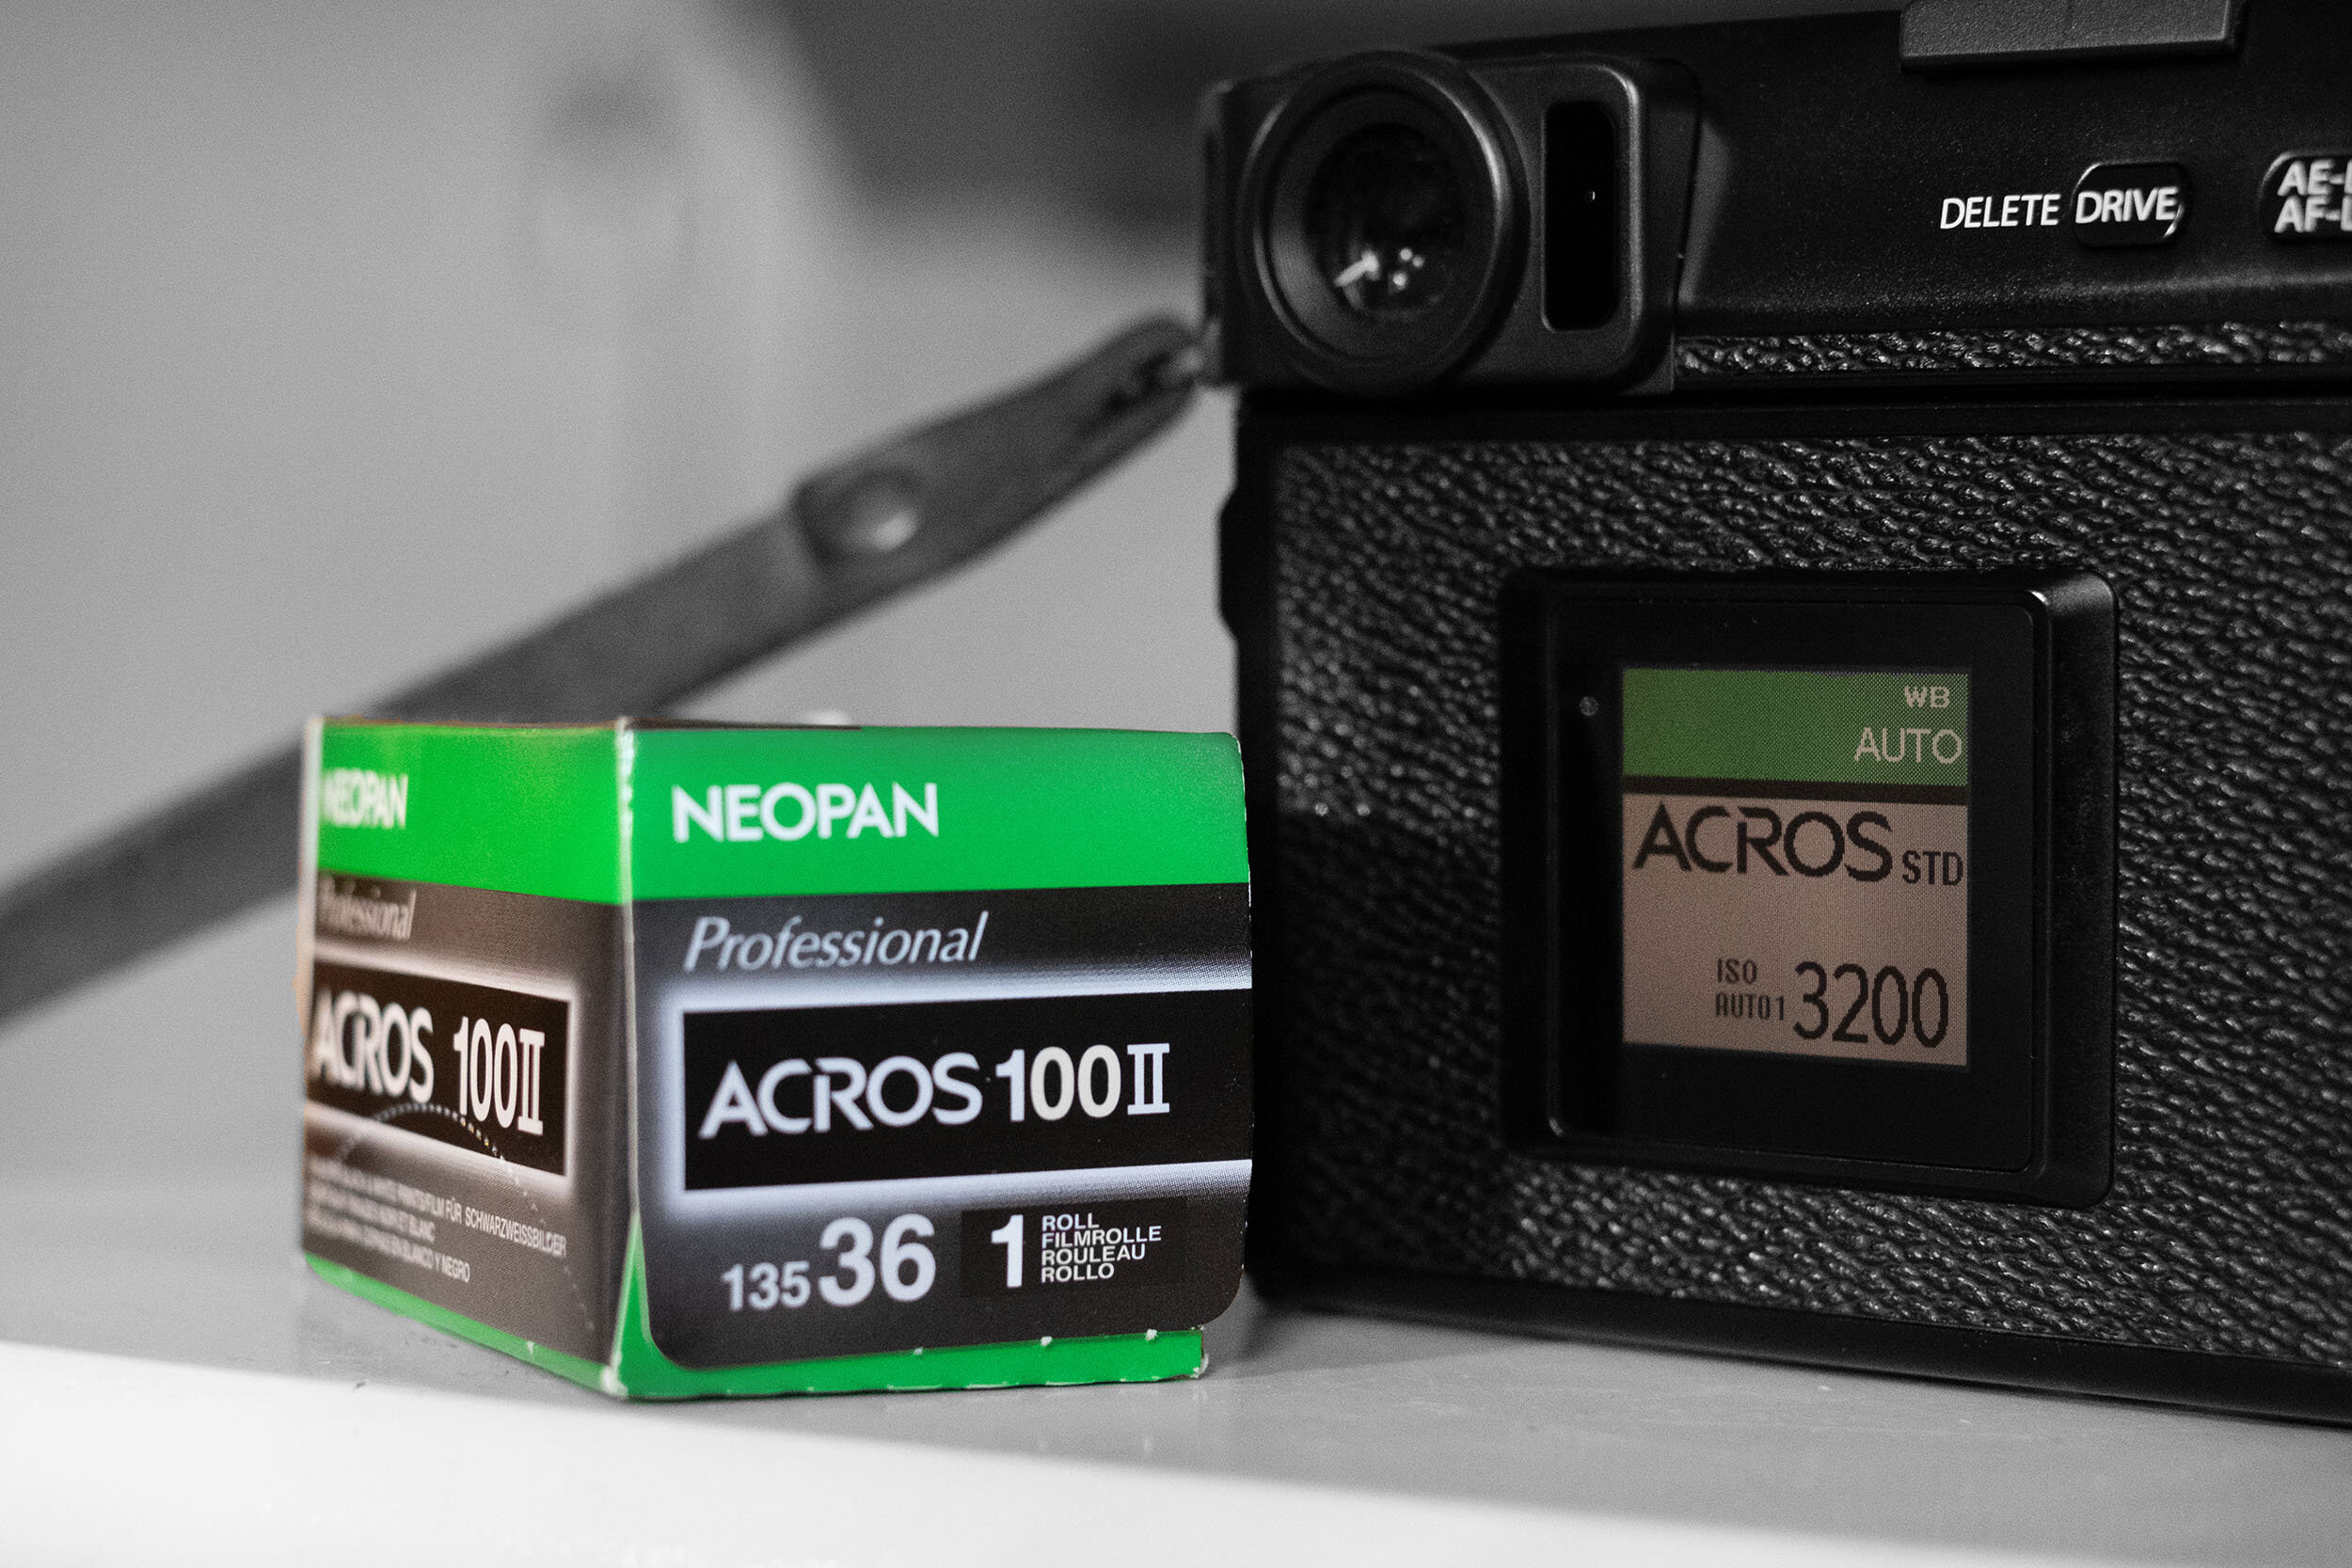
Fujifilm Acros 100 II vs. Film Simulation

Fujifilm Neopan Acros II Professional black and white negative film vs. Fujifilm’s film simulation
Fujifilm Acros vs. Acros
Admittedly I had never heard of the Fujifilm Acros 100 film stock until Fujifilm introduced it as a film simulation for the X-Pro2 in early 2016.
Immediately I was smitten with this film simulation and with the exception of a few black-and-white VSCO film simulations I use for my X-Pro1, I rarely look back and only use Acros for black-and-white digital photography.
To my eye, the Fujifilm Acros film simulation is applicable for a wide range of topics, and the ability to shoot RAW and then later add the film simulation in post-processing with a selection of standard, yellow, red, or green filters offers marvelous flexibility. If you shoot JPEGs you can customize recipes in-camera adding tone, curves, and grain size. This is all very cool.
The cameras used in this test. Canon AV-1 with a Canon FD 35mm f/2 for the Acros 100 II black and white negative film and Fujifilm X-Pro3 with an XF 23mm f/1.4 R used with Fujifilm’s film simulations.
Fujifilm 100 Acros II Black and White Negative Film
The Fujifilm Neopan 100 Acros II black-and-white negative film was released in 2019. I was surprised to see this release and it happened after the original Acros 100 film was discontinued in April 2018.
This took place just before I started dabbling in film photography again and while I thought it was exciting to see a manufacturer re-release an old film stock I did not pay too much attention. Now, imagine if Kodak would start producing Kodachrome again!
Canon AV-1, FD 35mm f/2, Fujifilm Neopan Acros 100 II black and white negative film
Shooting Film vs. Using Film Simulations
Film Simulations
Picking a film simulation in your Fujifilm camera is easy and very convenient. If you shoot RAW, you can change a photo later in post-processing or in-camera using a different film simulation, and a photo intended to be in color is easily changed to a black-and-white photo.
It seems almost superfluous to write this in 2021 but it was not always this easy. The level of expression and creative control seems endless.
Lately, I have been shooting with the Acros film simulation turned on in-camera intentionally. This way you can view the image in black and white in the EVF and make exposure compensations by being able to verify how this will affect the intended output as a black-and-white photo.
Shooting RAW, I can change my mind and change it to a color film simulation, or I can add a yellow, green, or red filter option to my black-and-white photo.
Spanish Bank, Vancouver, Fujifilm X-Pro3, XF 90mm f/2 R LM WR @ f/3.2. Acros film simulation
Shooting Film
There are quite a few steps involved when shooting film and you lose some of the flexibility mentioned above. There are no shortcuts or changing your mind but you might gain something unexpected when dealing with the actual real stuff, 35mm film that is, and so far I have found it quite rewarding.
You will most likely shoot fewer frames. The cost of $12.00 per roll of Acros II film may be in the back of your mind and after a roll is finished you either have to run or mail it to a lab unless you develop your film at home. I pay $8.00 to have my film developed in a lab.
After your film is developed most of us want to have the photos in a digital format. The world revolves around digital content. With that said I have vowed to have more of my black-and-white photos printed.
Canon AV-1, FD 35mm f/2, Fujifilm Neopan Acros 100 II black and white negative film
The Fujifilm Acros 100 II negatives in this article were copied using a Fujifilm X-Pro2, a Nikkor Micro 60mm f/2.8D macro lens, and Skier Sunray Copybox 3. The RAW files were imported to Lightroom and I used Negative Lab Pro to convert the files.
I did not make a conscientious choice to make the files look similar. Instead, I merely made a few exposure and level adjustments to either The Canon AV-1 film captures or X-Pro3 digital files to a point where I found the results satisfactory.
If you want to see how I copy negatives, please check this article:
Britannia Secondary School, Canon AV-1, FD 35mm f/2 @f/11 Fujifilm Neopan Acros 100 II black and white negative film
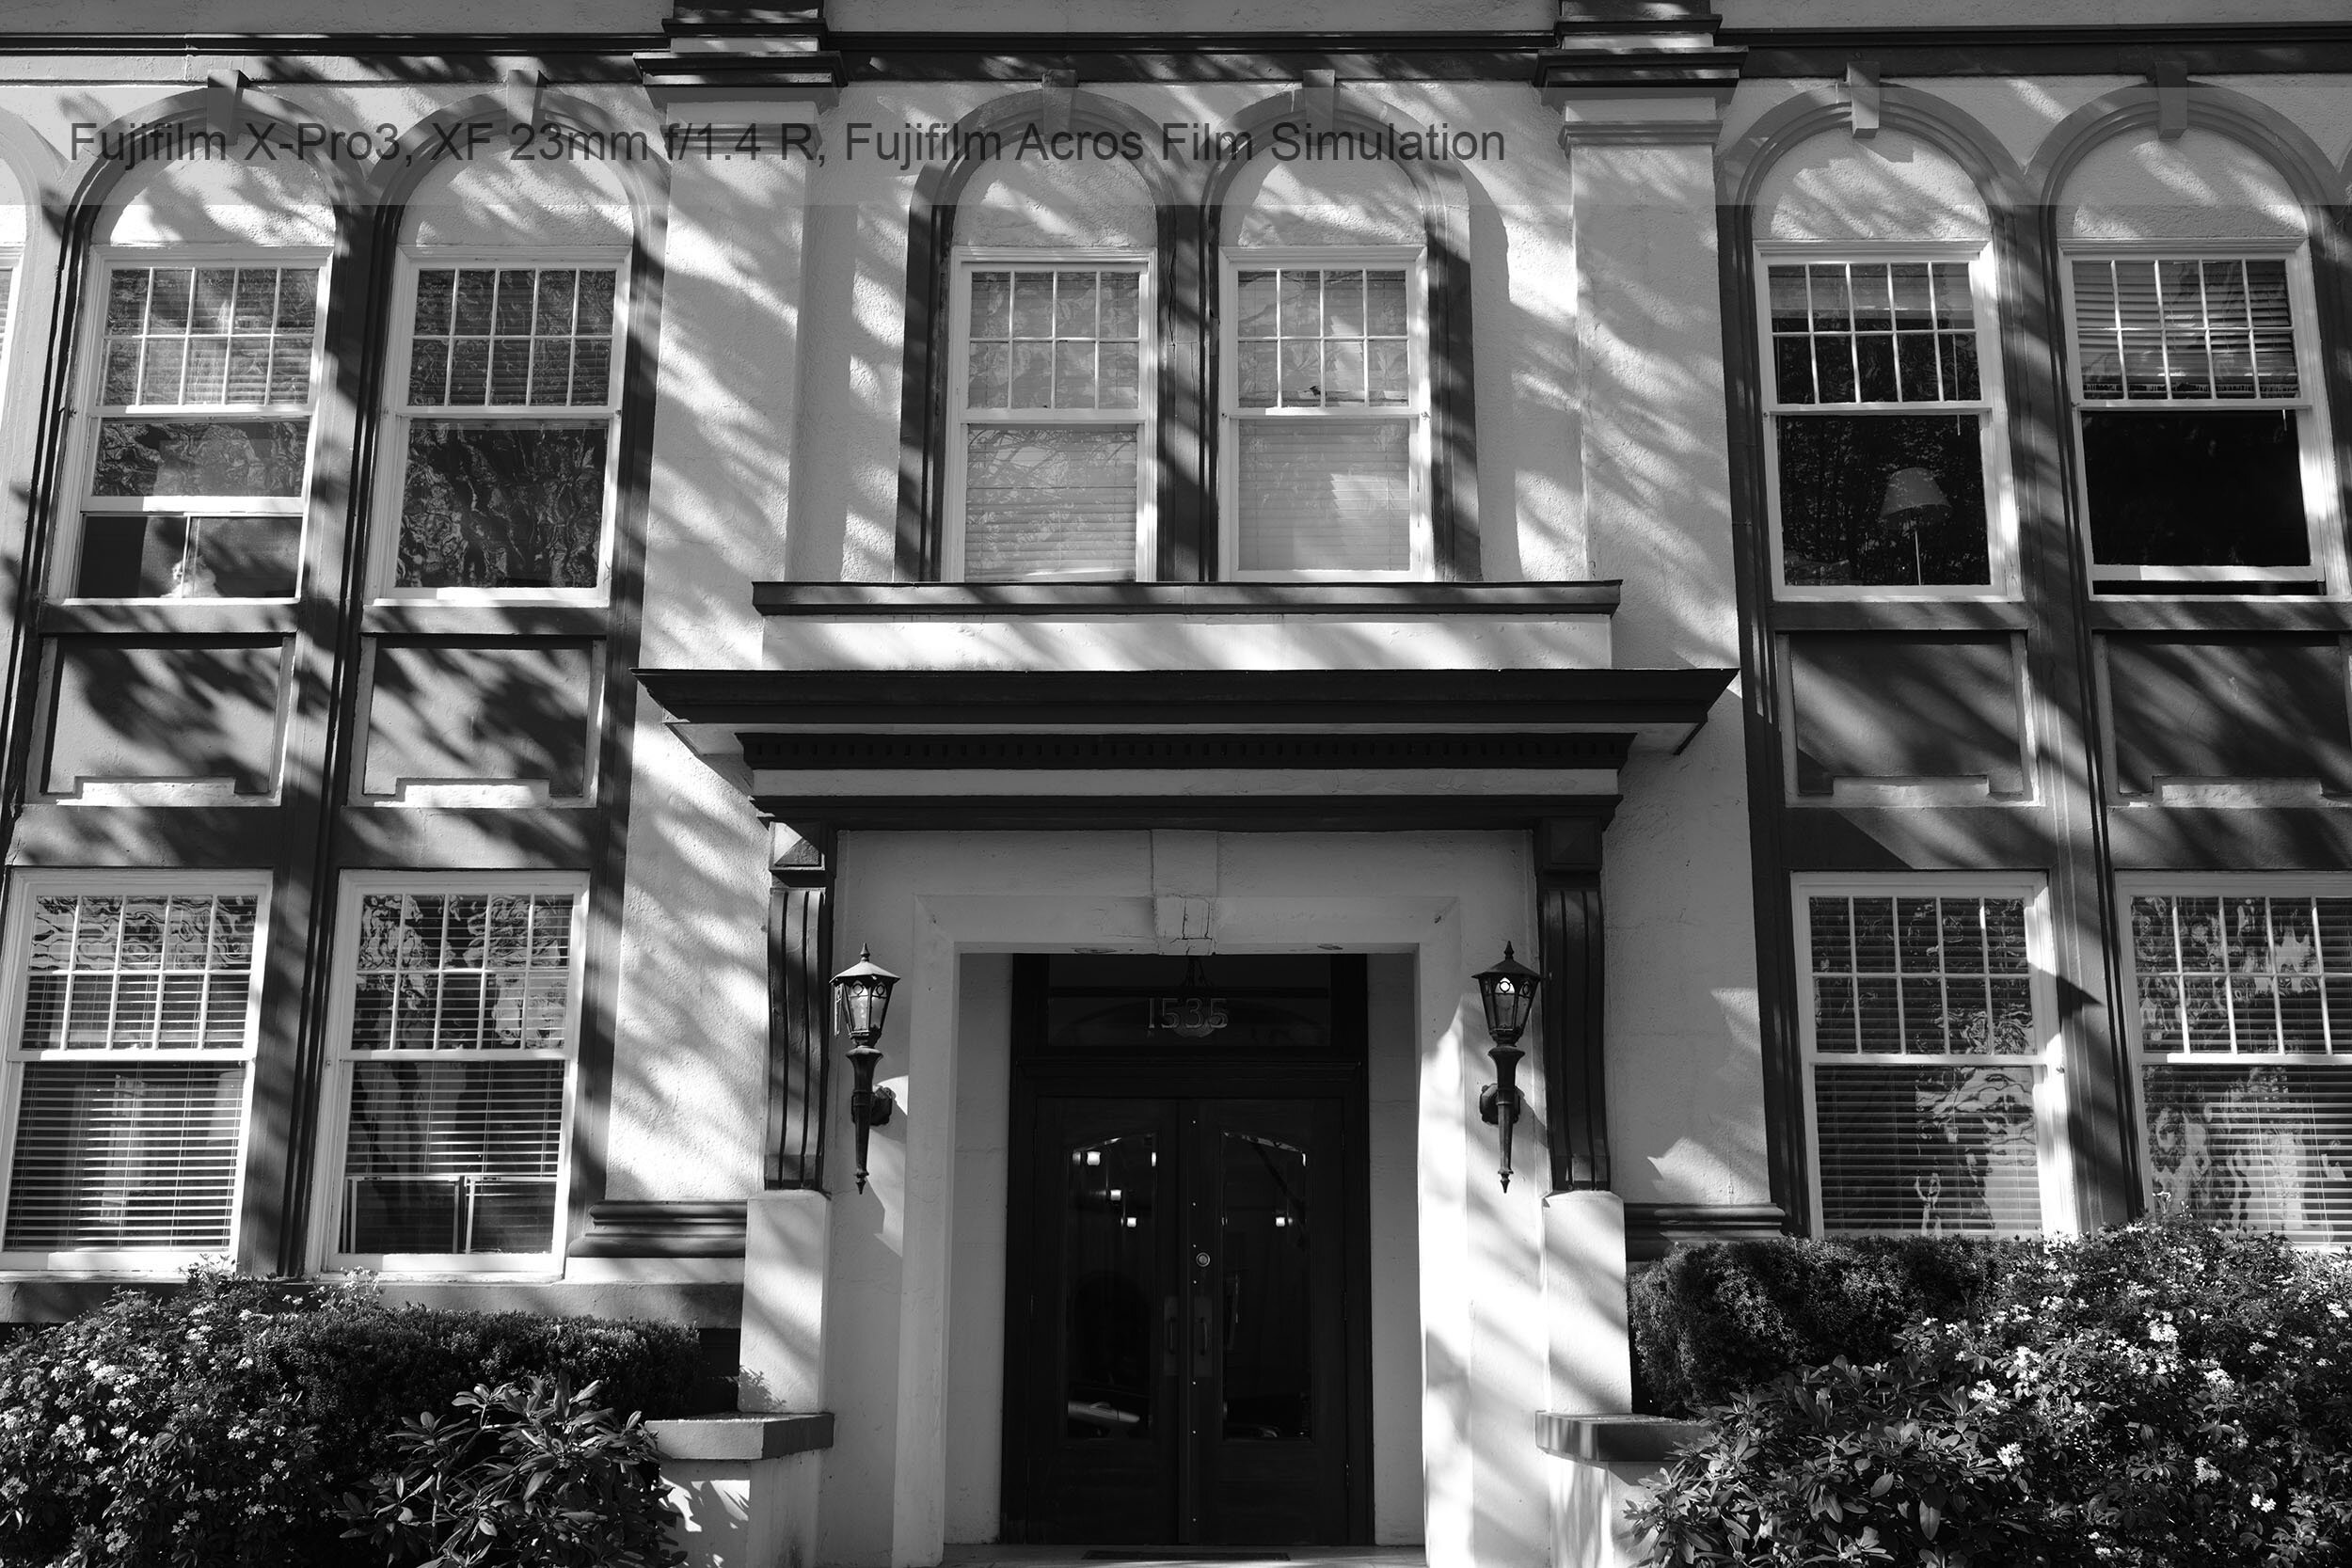
Britannia Secondary School, Fujifilm X-Pro3, XF 23mm f/1.4 R @ f/8. Acros Film Simulation
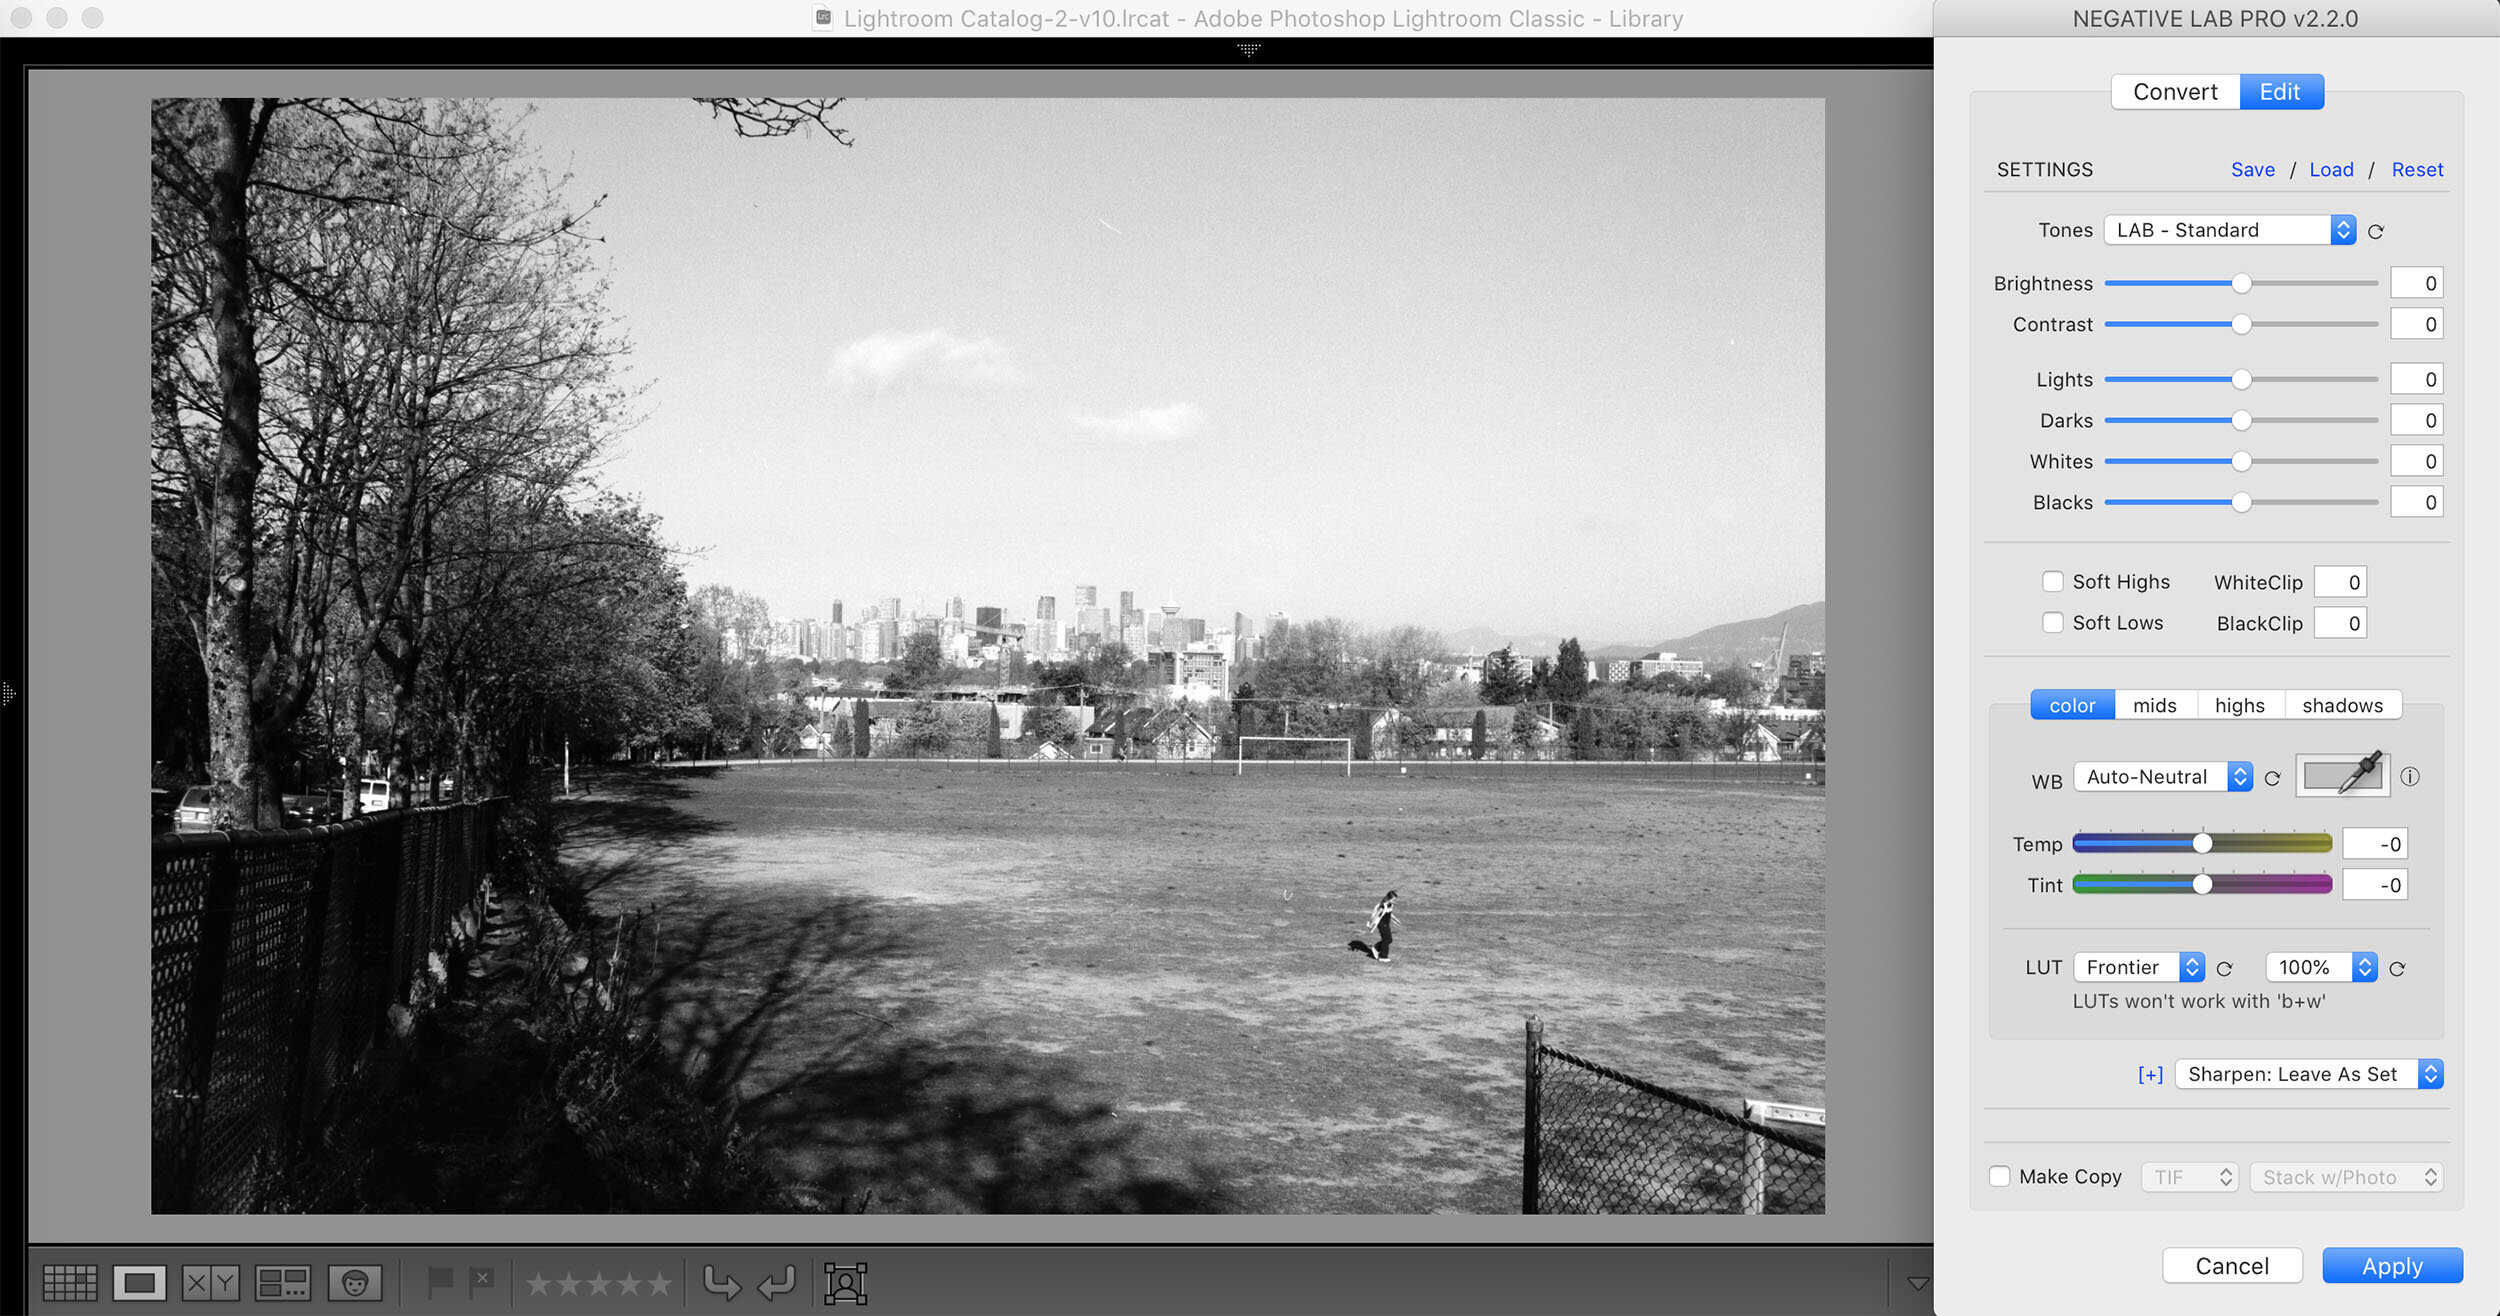
Negative Lab Pro, Black and White Negatives
I chose to use the Standard Lab preset in Negative Lab Pro for all the photos in this article. Negative Lab Pro has other presets and adjustment options and below is an example of picking Lab-Soft with a few adjustments.
Please see the screenshots. This means you do have control over the final outcome after copying and converting negatives.
Add to the list of further adjustments that can be made in Lightroom or Photoshop such as dodge/burn and the spot healing brush tool to remove dust or scratches in the developed film.
Please see this article on how I use Negative Lab Pro:
Film Look vs. Film Simulation
The grain structure in the Acros 100 II black and white negative film is without a doubt more pronounced. Files do not appear as sharp as the digital files from my X-Pro3 and to verify this I have attached 100% crops below, one from the Canon AV-1 / Acros 100 II film and one from the X-Pro3 using the Acros film simulation.
Mind you I shoot mostly at low ISO values. You can add larger size grain to your digital files by shooting at higher ISO values or by adding larger size grain in-camera if you shoot JPEGs or process your RAW files in-camera.
Fujifilm Neopan Acros 100 II black and white negative film vs. Fujifilm Acros film simulation
Acros vs. Acros Comparison
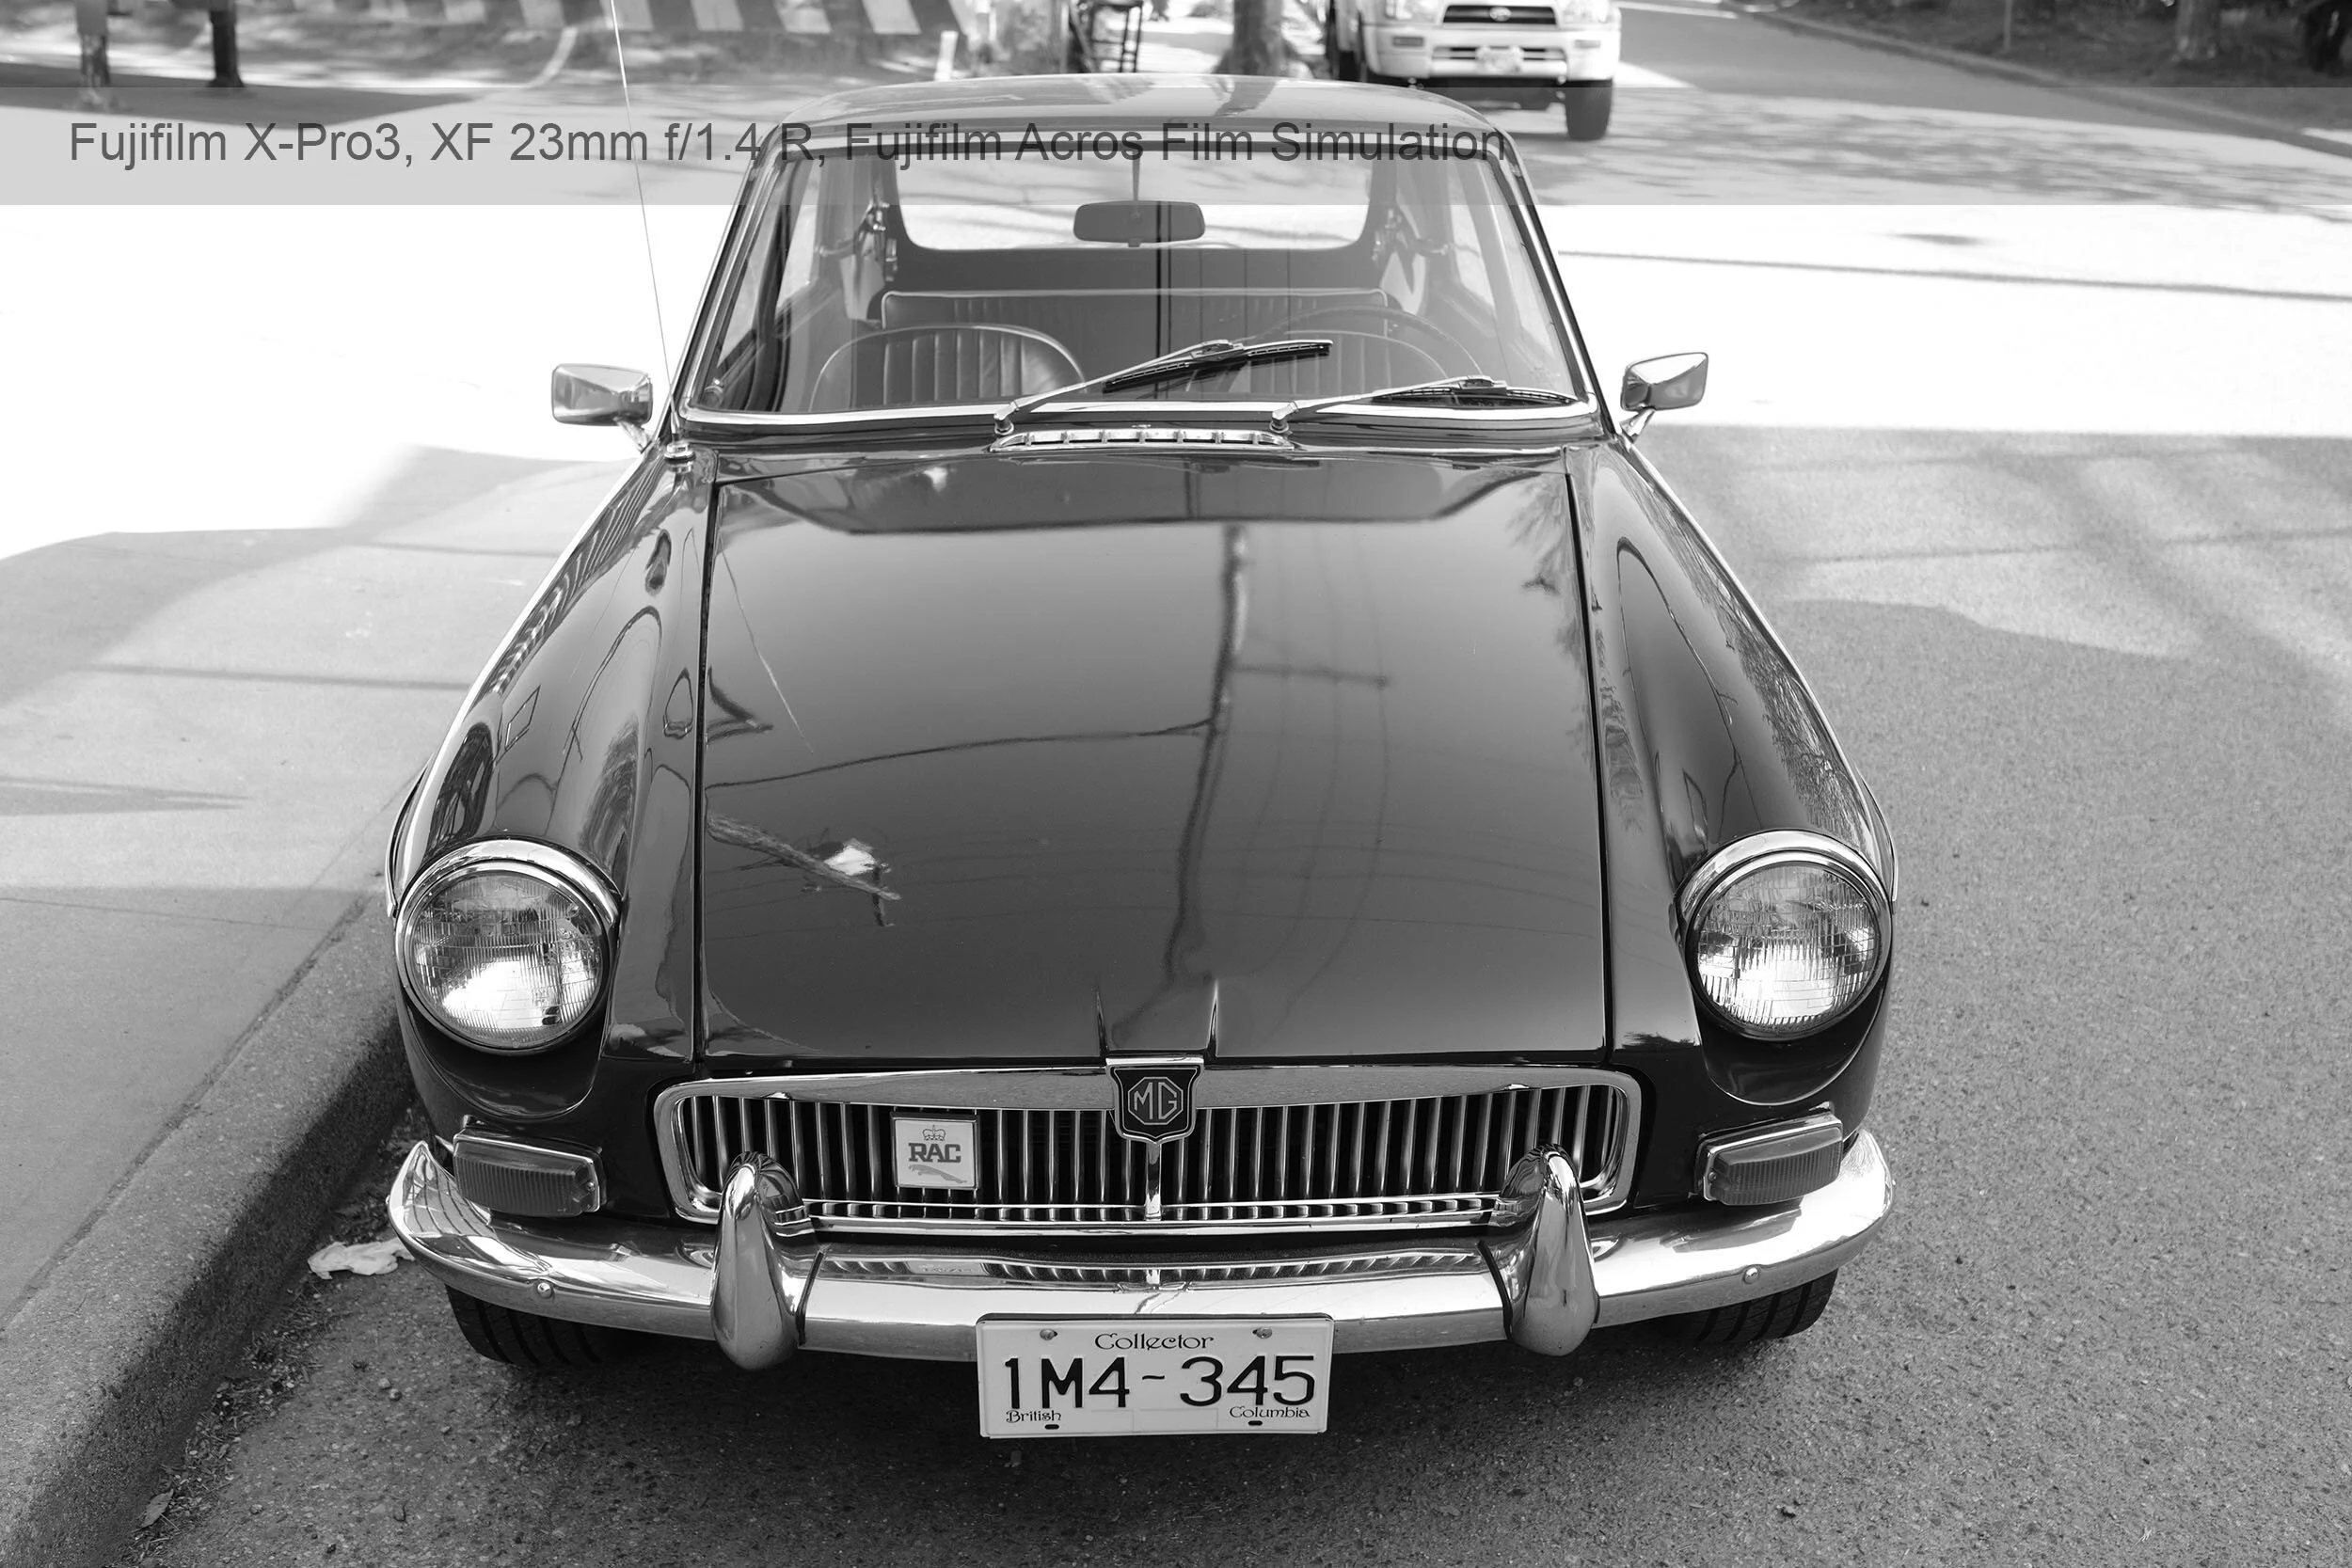
In the gallery below you will see 24 photos. 12 from the Canon AV-1 and the Acros 100 II black and white negative film and 12 from the X-Pro3 using the Acros film simulation. I will let you judge for yourself but will also add my conclusion below.
Fujifilm Acros vs. Acros Conclusion
My takeaway from this little experiment is that the Acros 100 II film and film simulation both create usable and pleasant files. The tonality between the two is similar and depending on how you post-process you should be able to get a result you can be pleased with.
Why would you use one over the other? The digital files add unparalleled convenience and flexibility while the film experience is more organic and less predictable and I mean this in a positive sense.
If you pixel peep, you will notice an obvious difference in the overall image quality but when viewing the images full size I really like the Acros 100 II images and the 35mm film look from my old Canon AV-1. It’s fun to have both options depending on your mood and application.
Learn more about Fujifilm Film Simulations:
Fujifilm Film Simulation Samples
My reviews at a glance: Camera Reviews - Archives


